Star Wars Rebellion is a boardgame published in 2016 by Fantasy Flight Games which is set in the middle of the Galactic Civil War. The game is designed asymmetrically, with each faction (the Galactic Empire or the Rebel Alliance) providing a different set of challenges and win conditions - the Imperial player must locate and destroy the Rebel base, while the Rebel player must hold off Imperial forces until they can inspire the Galaxy to take part in a revolt against the empire, with objectives that can be completed to shorten this time. The game prides itself on its cinematic, asymmetric gameplay - but what do I think of it?
Well, let's see a game I had with someone (who wishes to remain anonymous) where they were the Galactic Empire and I was the Rebel Alliance, so I can explain the mechanics of this game thoroughly.
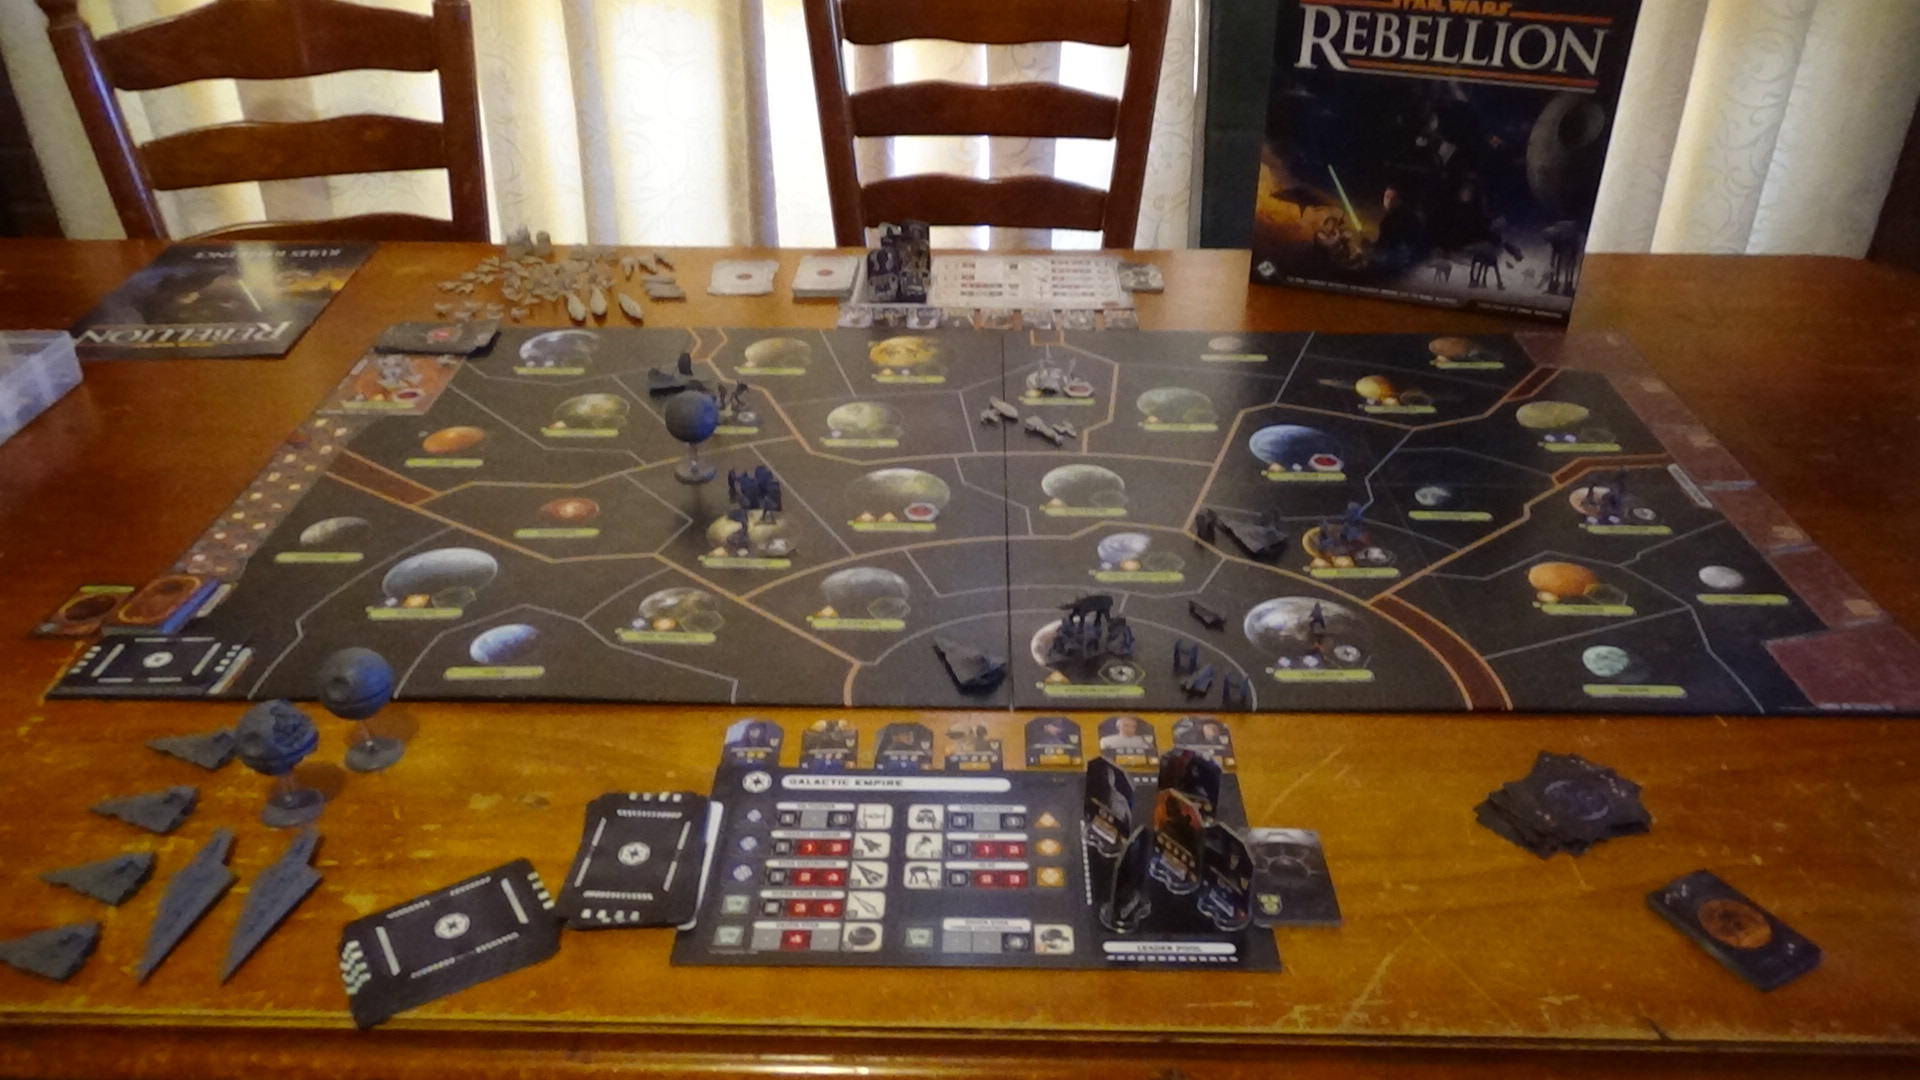
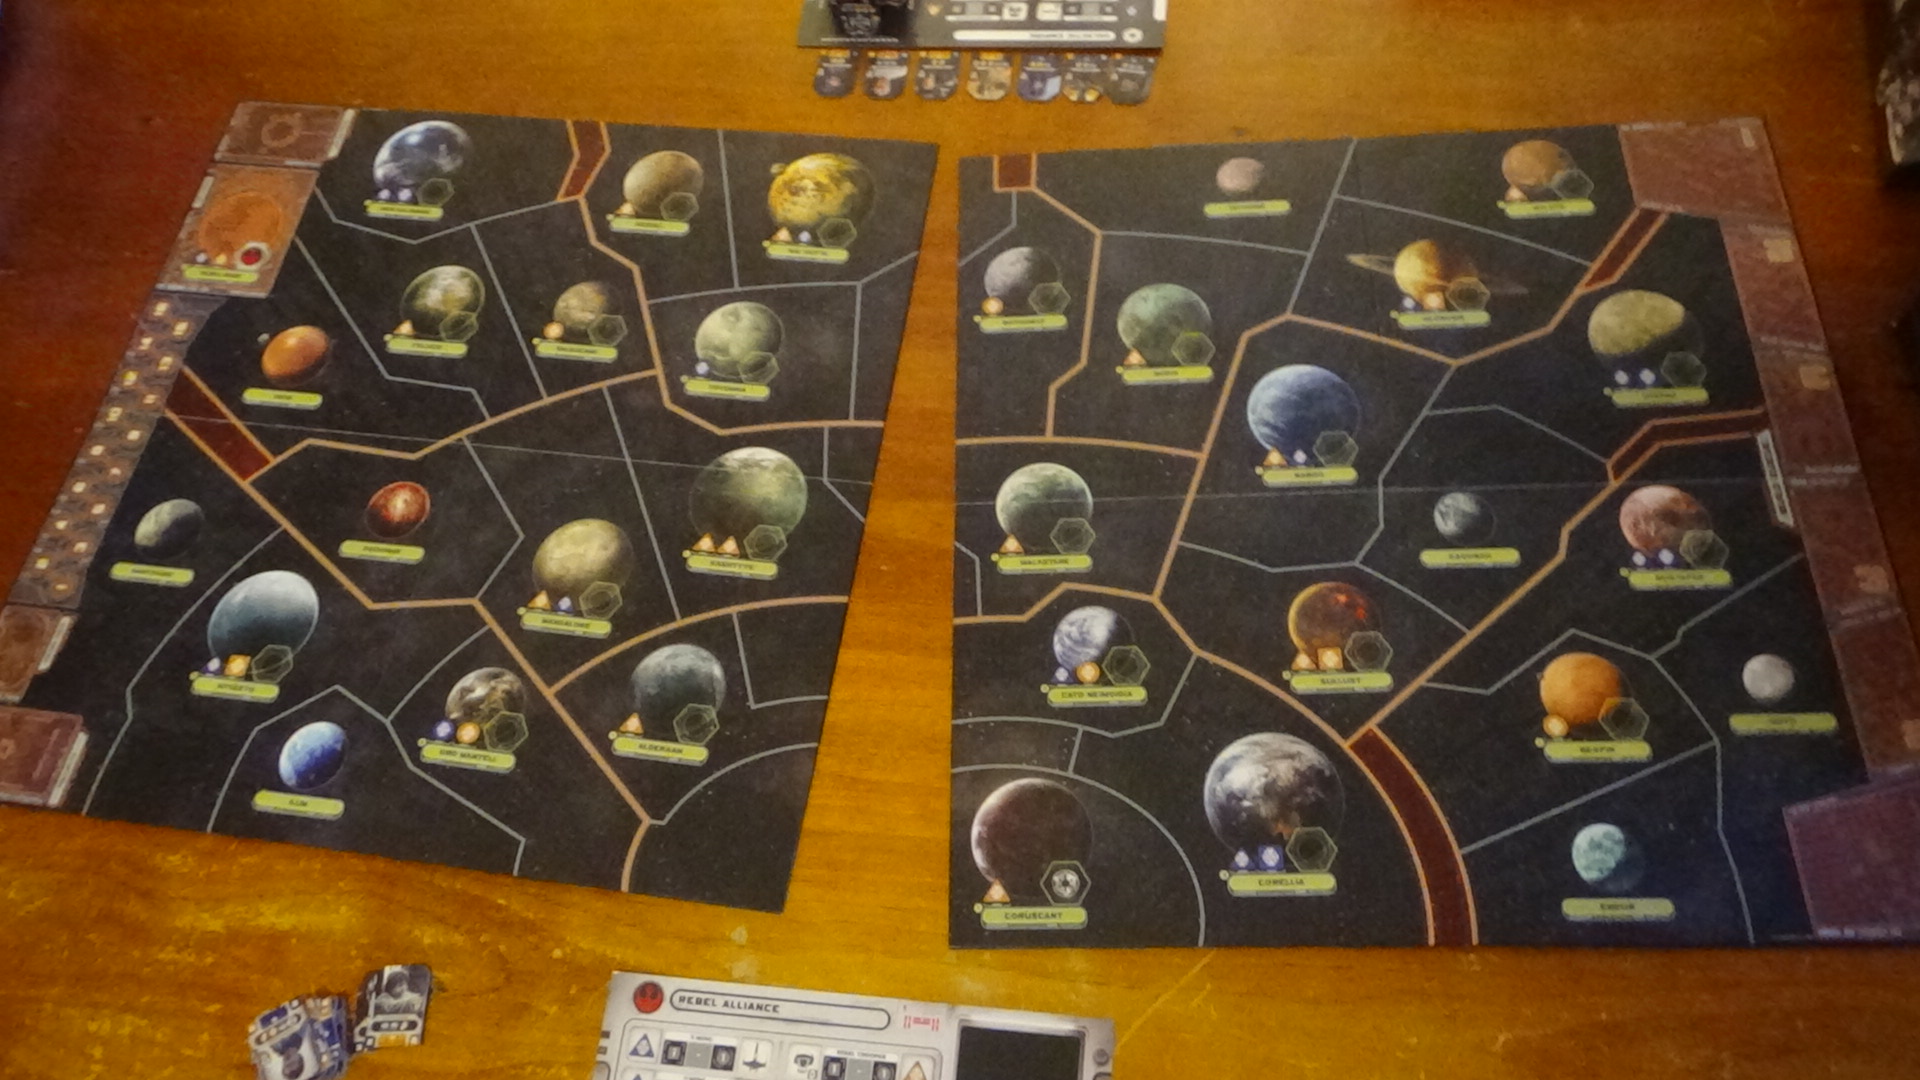
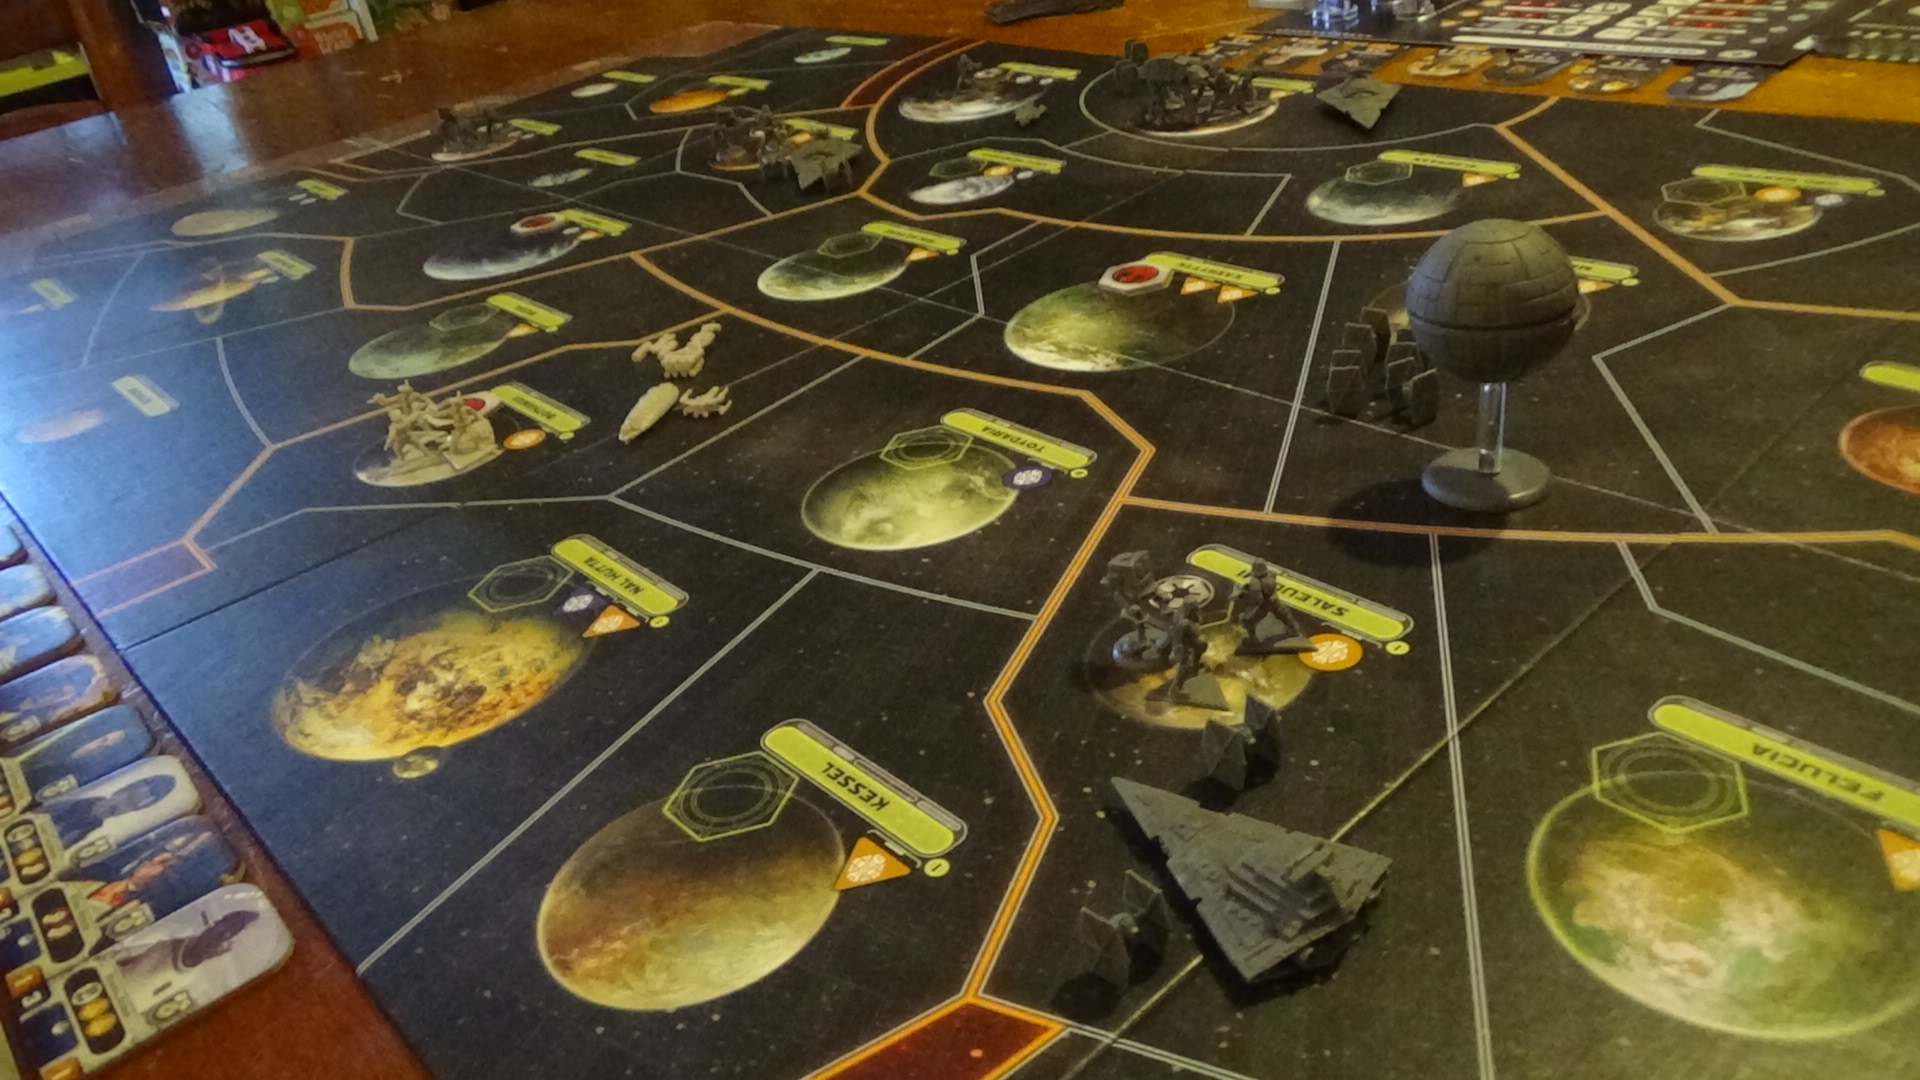
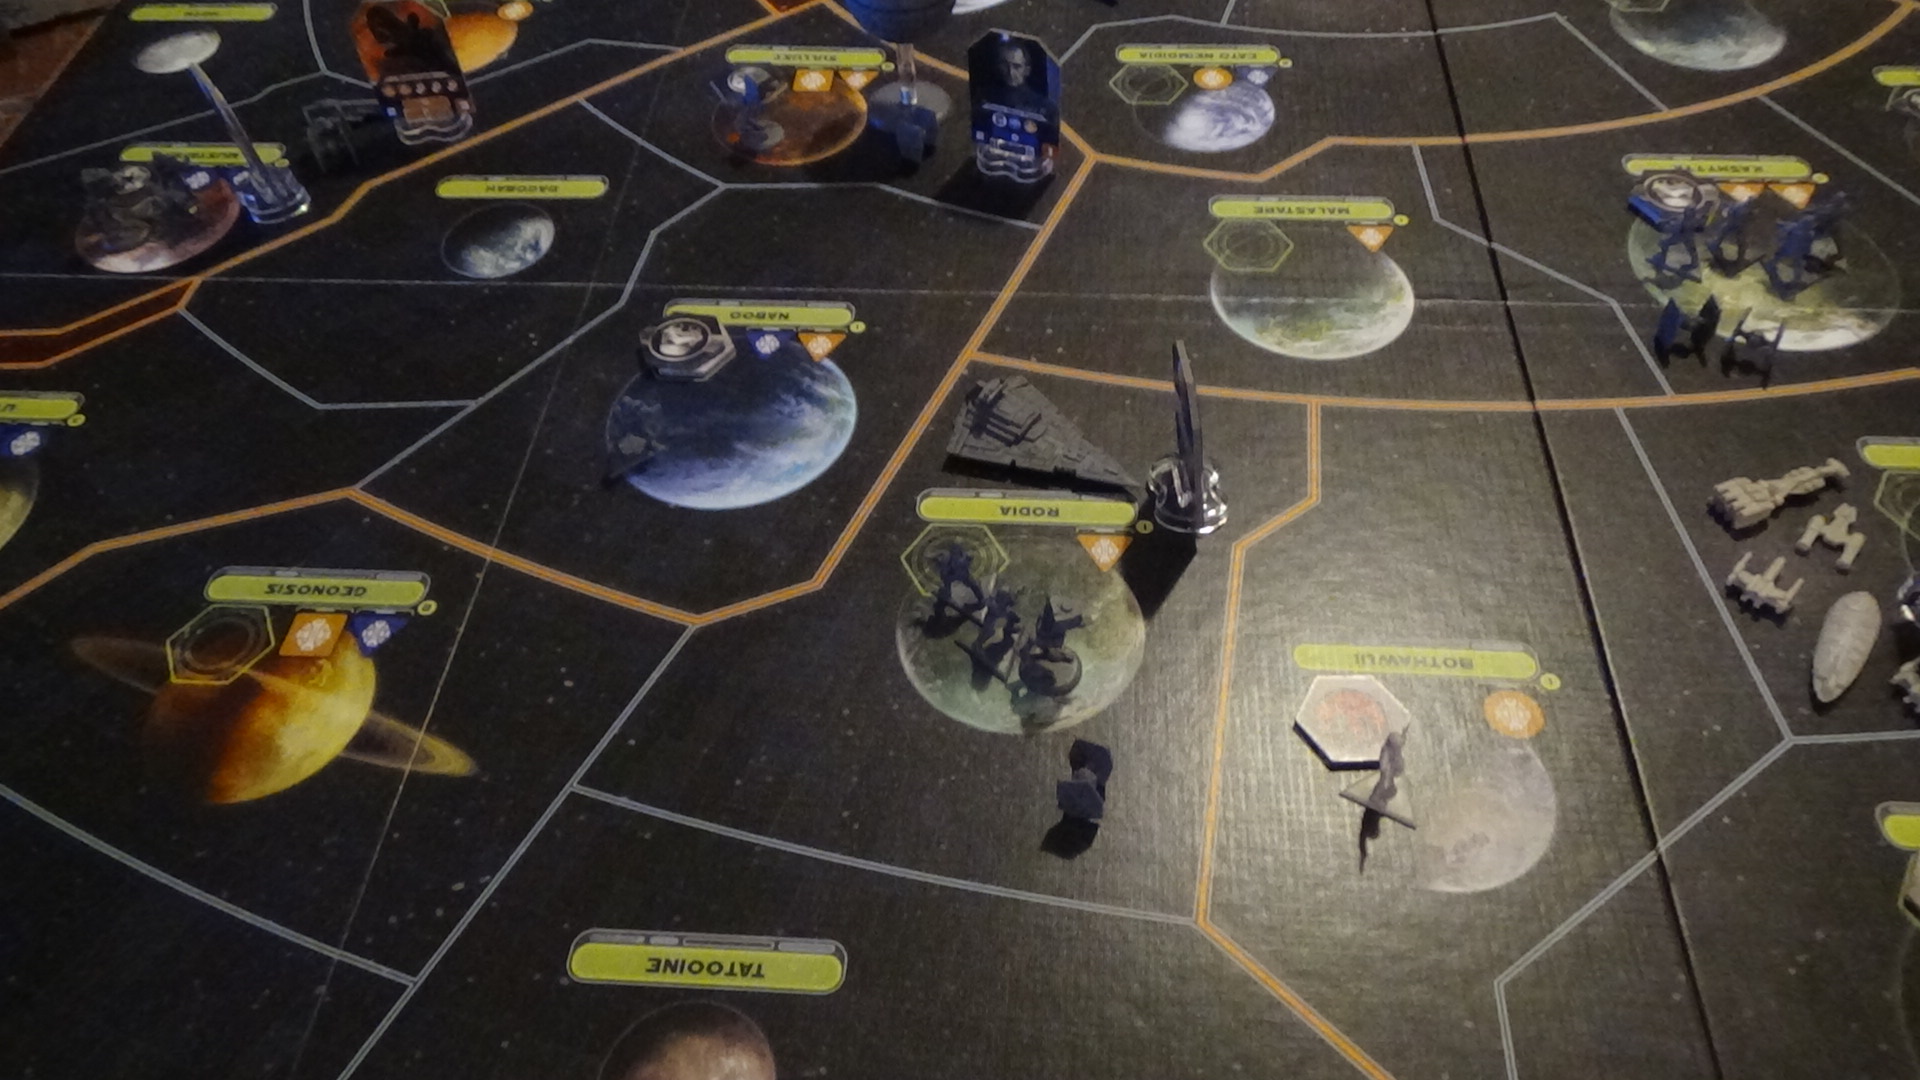
Probably the most tedious part of this game is the setup and the packup, due to the sheer size of the game. The Imperial Player and I had played this game once before, so all of the tokens were sorted (we still played with the 'first game' rules since it'd been a while since then) and despite that it STILL took a while to set up. To help illustrate the sheer size of this game, here's a picture that shows that the board is made up of TWO separate pieces shoved together.
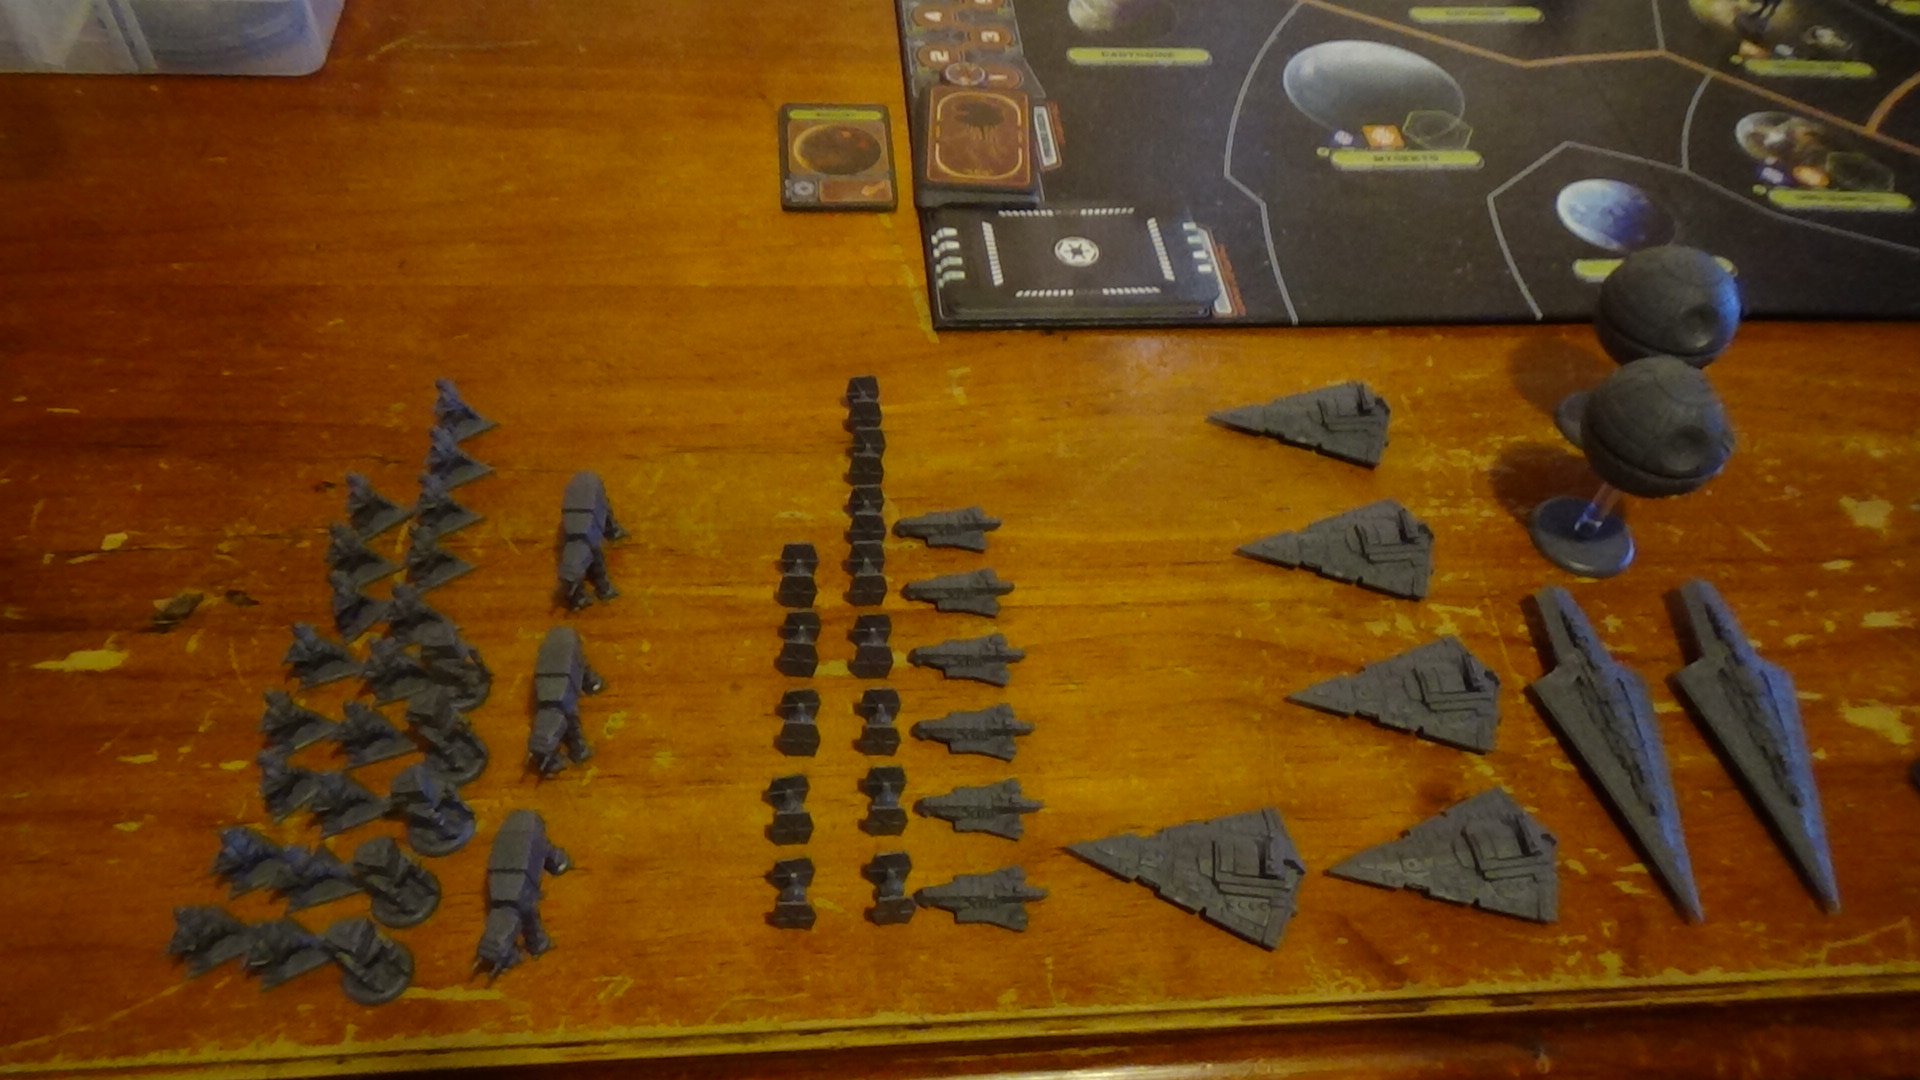
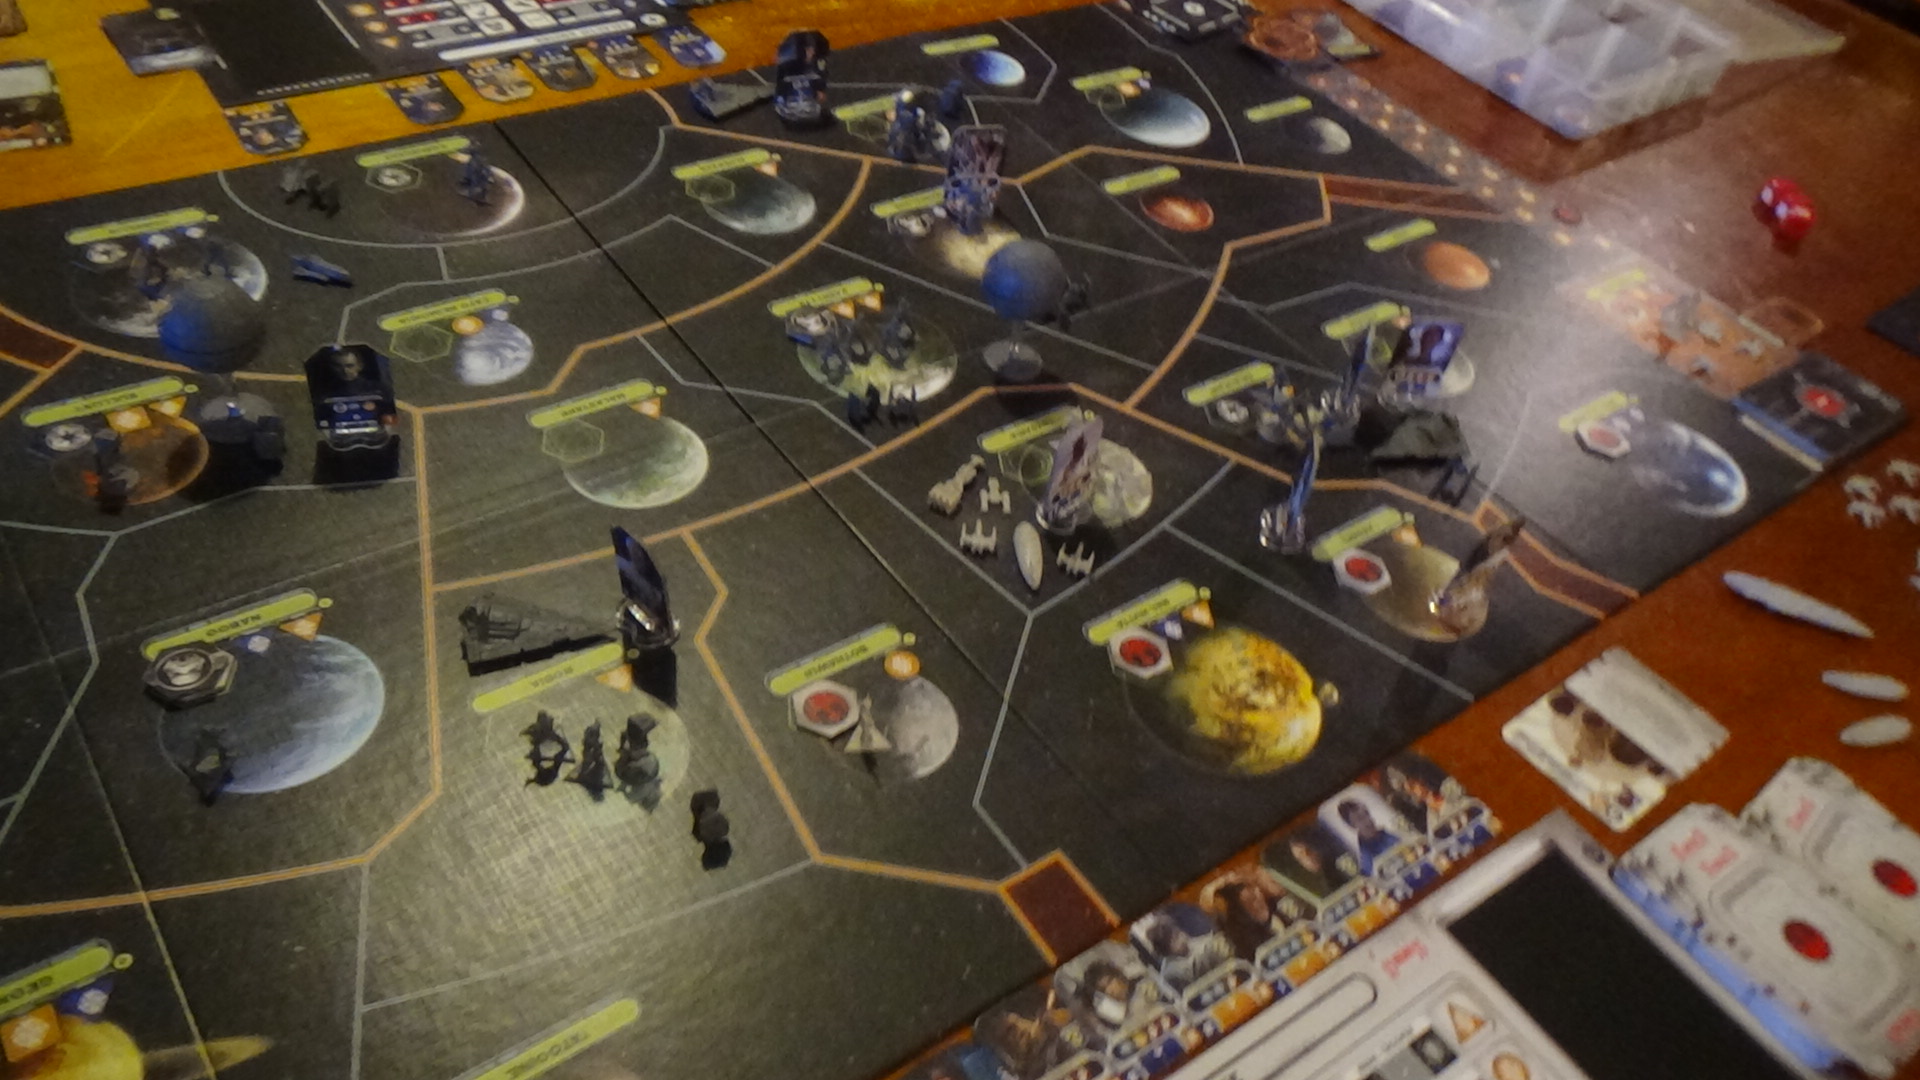
The setup IS long, but once it's done it's done. Here's a picture of the Imperial Player's forces that I set up, (I had set up before they had arrived) and let me tell you I'm pinching myself for not taking a picture of it BEFORE I decided to place half of it on the map.
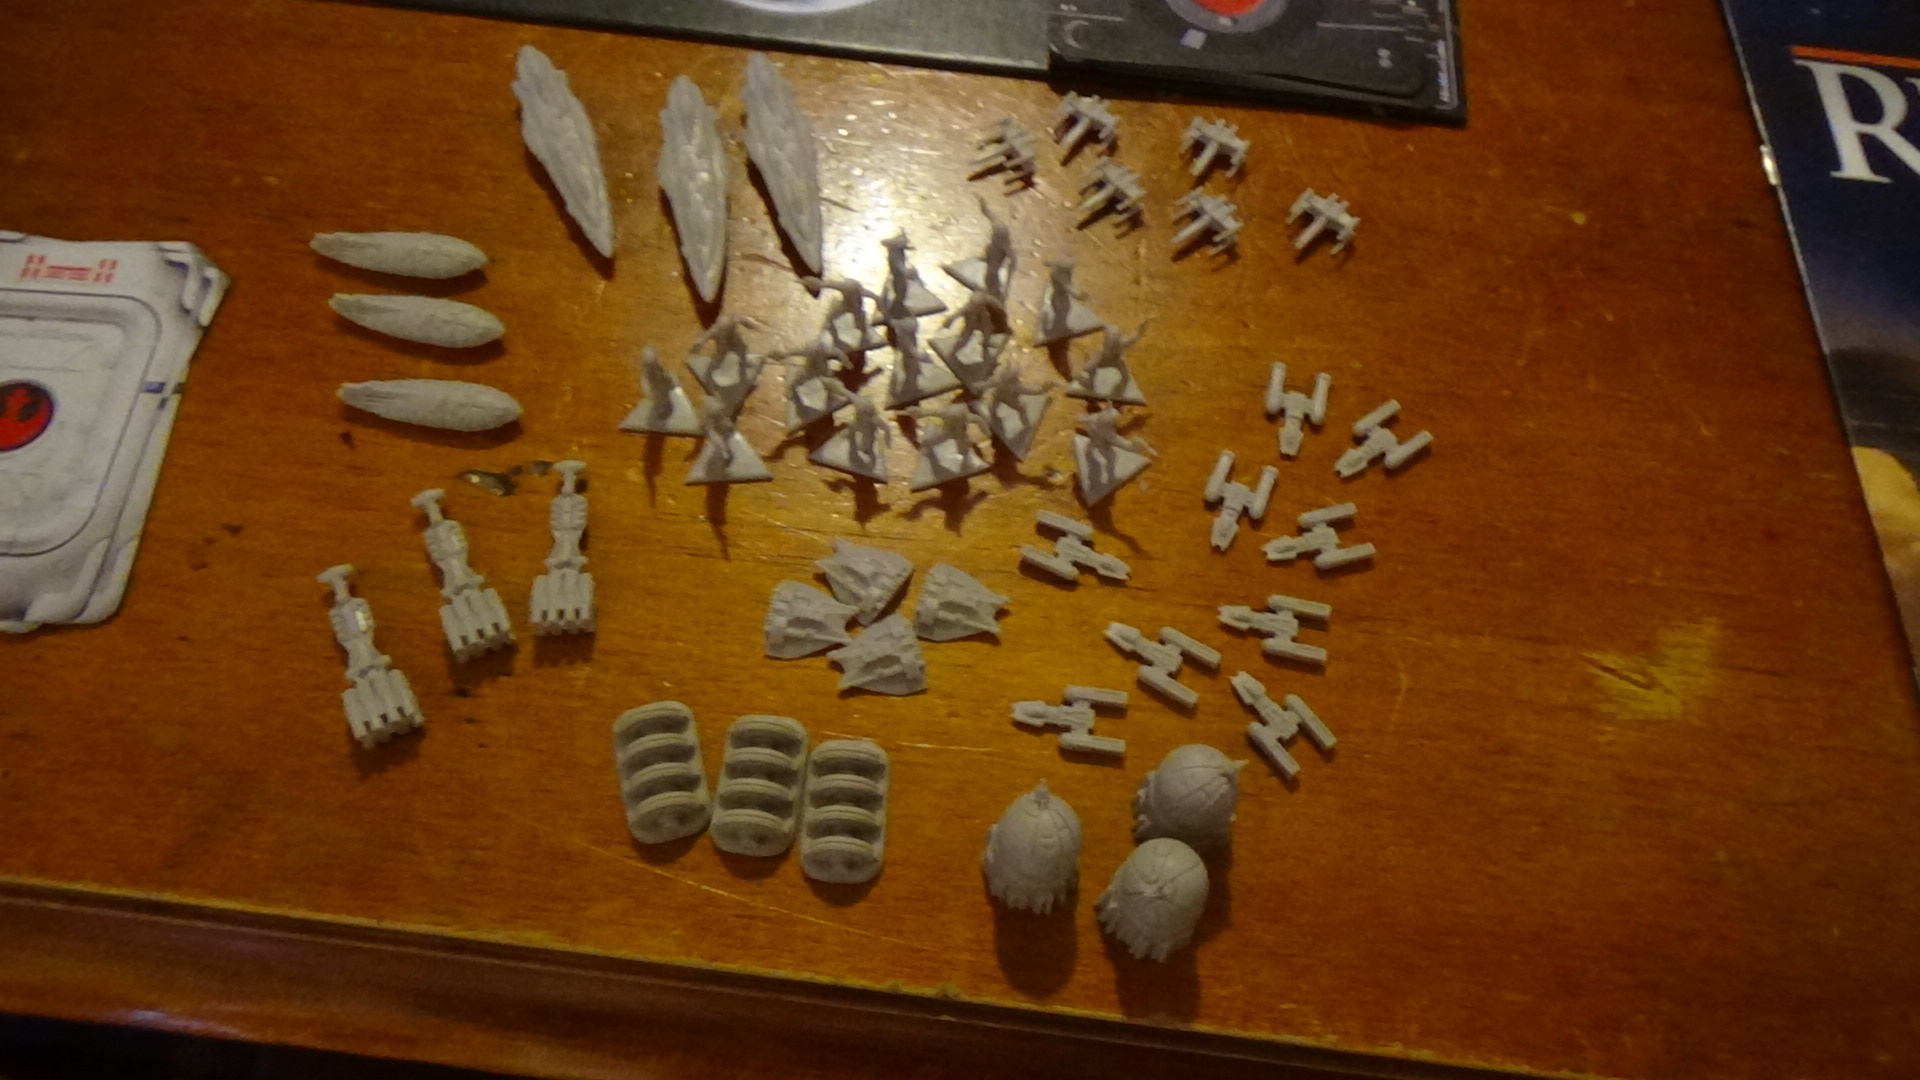
Here is a picture of my forces. They're not as neat as the Imperial forces because I couldn't be bothered to align them all up again because it's representative of the rag-tag low-budget nature of the Rebels. Yeah, that's the one.
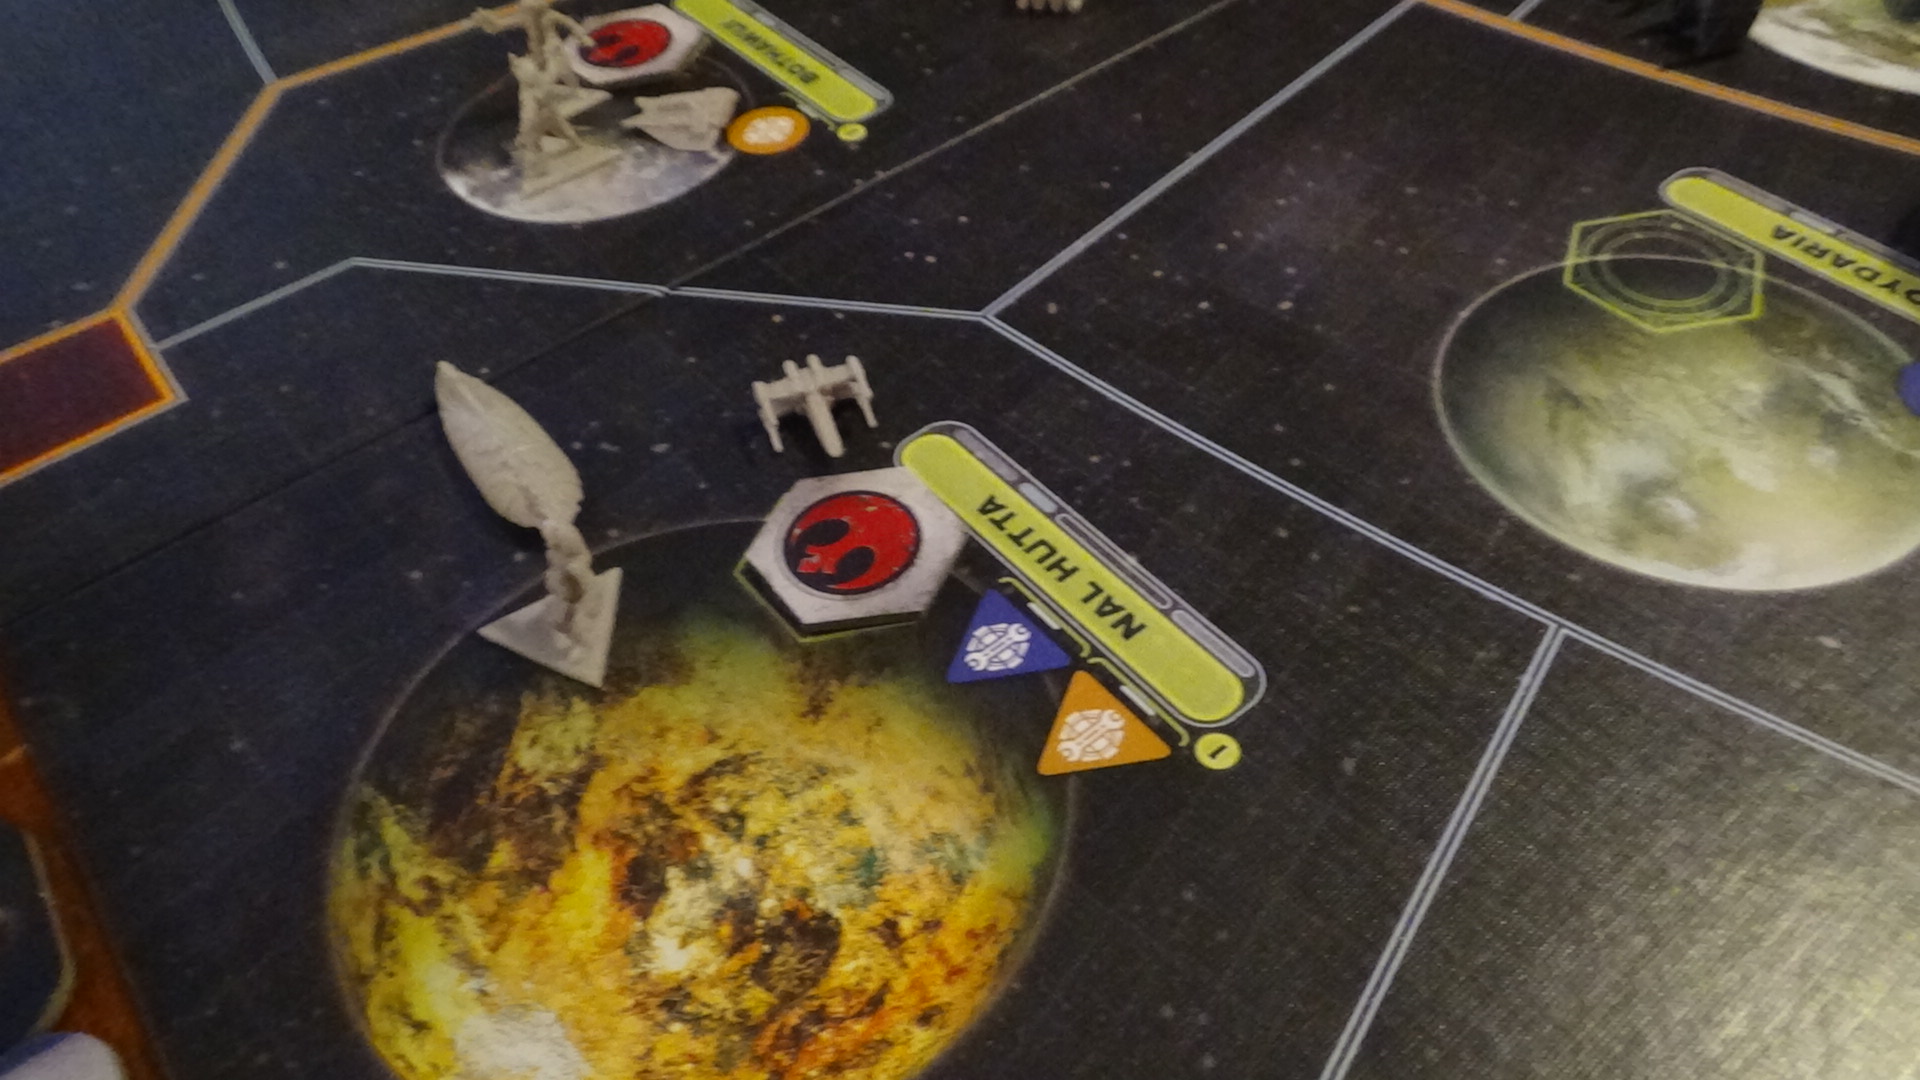
One of the asymmetric details you'll notice playing this right off the bat is that the Rebels are severely underpowered in terms of naval and military power. As the Rebel player, this may not be too much of a hinderence if you plan combat right, but we'll get to that later. In case you were wondering, I've chosen Nal Hutta as the location of the Rebel secret base, which as I found out isn't that good of an idea as I thought it would be. Now, prepare for jump to hyperspace as we make the jump to Star Wars Rebellion!
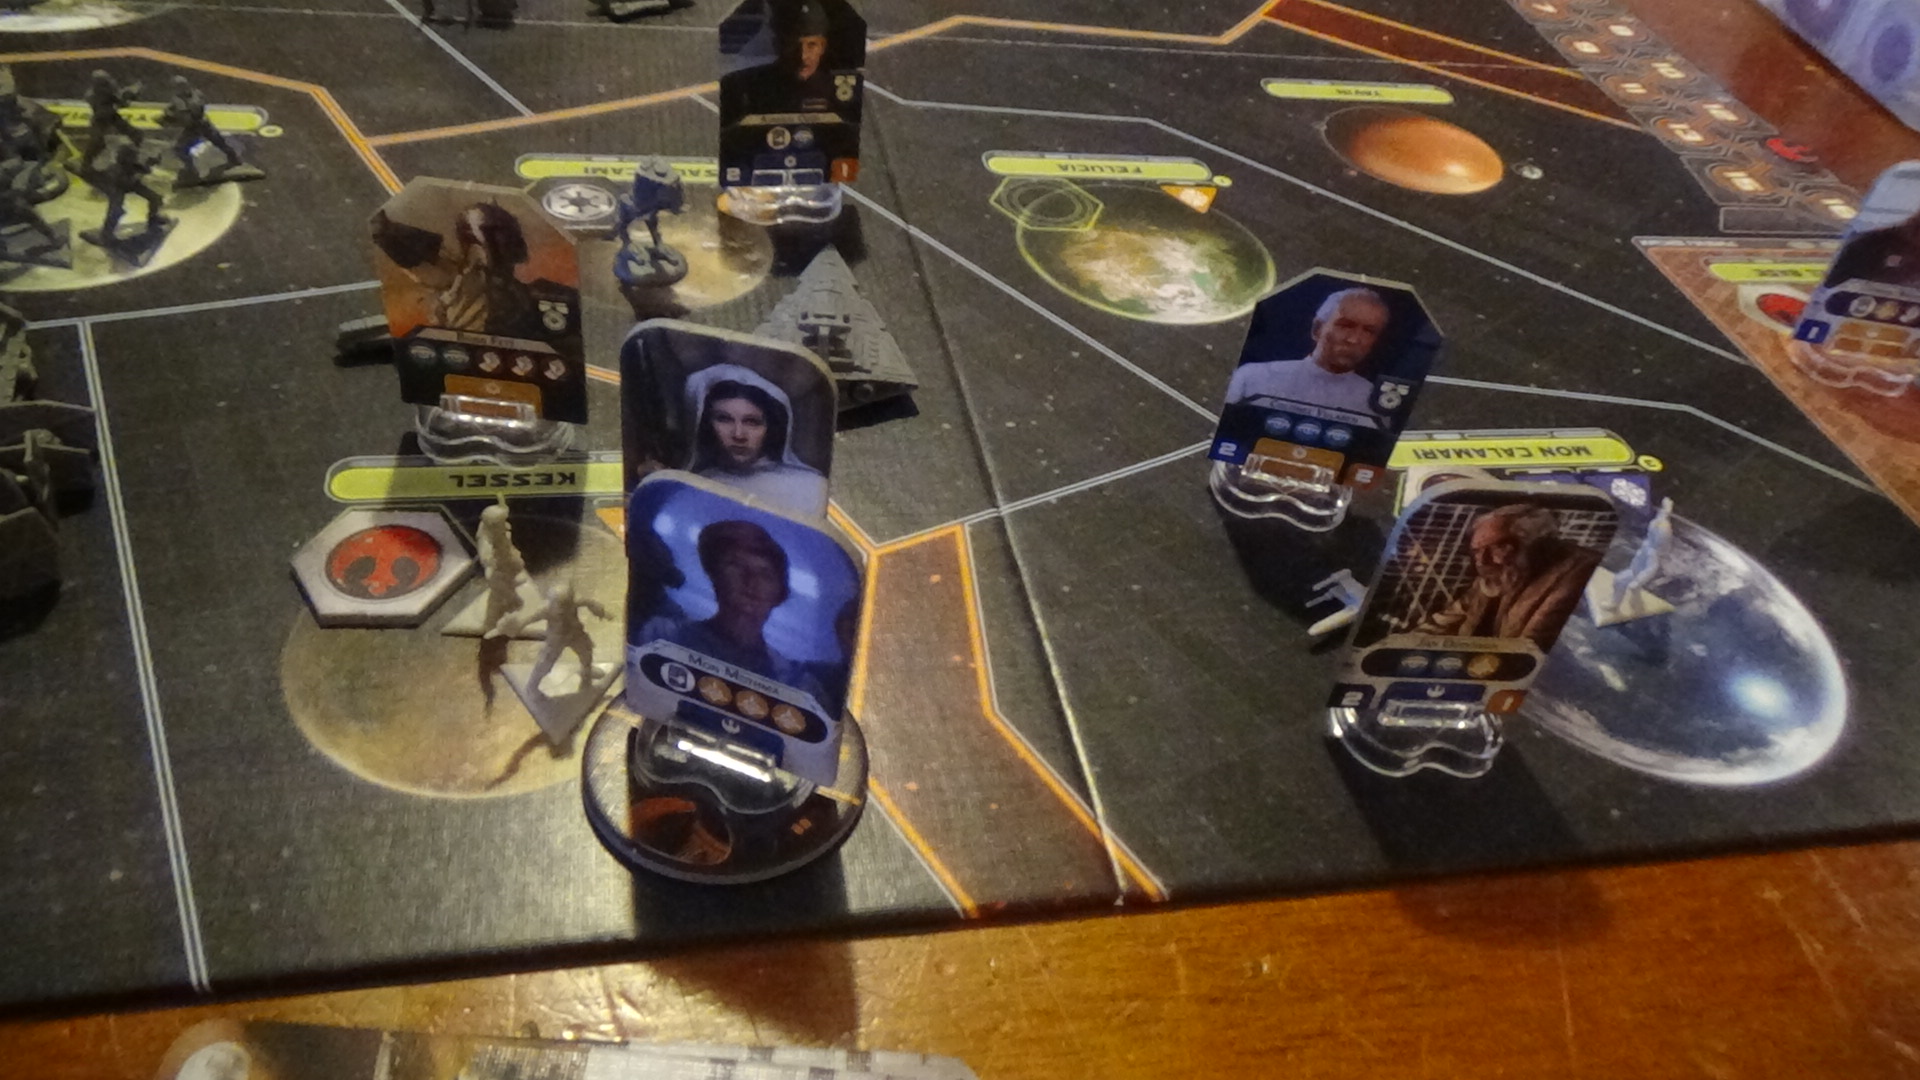
Star Wars Rebellion is all about sending leaders of your faction to go on missions around the galaxy to help further your agenda. I stupidly took these pictures AFTER we had taken the leaders off of the map, but this is the only round that this had happened. My basic strategy was to try and hold off the Imperials along Bothawui, Toydaria and Kessel which would keep Nal Hutta safe from attacks and allow me to relocate my base to somewhere else once I had mustered enough forces to spread out and gain loyalty (control of planets, basically) without the Empire taking them by force being too much of an issue. That was the plan anyway, but I digress.
My first move was to go to Nal Hutta - it's at this point that I should mention that there's a separate 'planet' on the map that represents the forces on the Rebel Base in hiding, so the Imperial player doesn't know where it is - and gain their support so more forces could be mustered to support the war effort. This went along without the Imperial player sending a leader to counteract my mission (unassigned leaders can be used to move units or make completing missions harder for the enemy) or suspecting that it was, in fact, the location of the Rebel Base, so there's that.
The Imperial player sent a small task force to take Naboo, which was met with no opposition, so there's one system gone. They also moved the Death Star and a very large army to Kashyyyk (which, once again, I had no forces in, so there was no fight there) which just so happens to be an adjacent system to Toydaria, a 'self-imposed mission critical' objective. While losing two systems may be a bit much for some people, the fact that I had successfully negotiated a trade deal with Mon Calamari (which not only made them loyal to us, but gave us an extra Mon Calamari star cruiser and fighter squadron alongside the regular amount they'd give us) put me in a chipper mood. Well, for the time being at least.
And with that, the first round was over. The Imperial player drew two probe cards, which are supposed to help the Empire locate the Rebel Base. Probe cards show where the base isn't and where it won't be if it gets relocated. We calculated how many units we could build - the Imperial player had a lot more units in the production line than I did, to no surprise - and both recruited a leader into our ranks. Fortunately, I was able to choose Admiral Ackbar (one of my favourite characters in Star Wars) but in retrospect I really should've gone with Chewy's special ops abilities, which were the highest available to the likes of the Rebellion. NOTE: Aside from not keeping leaders on the board, I failed to remember to get a wide shot of the map, however I did for future rounds.
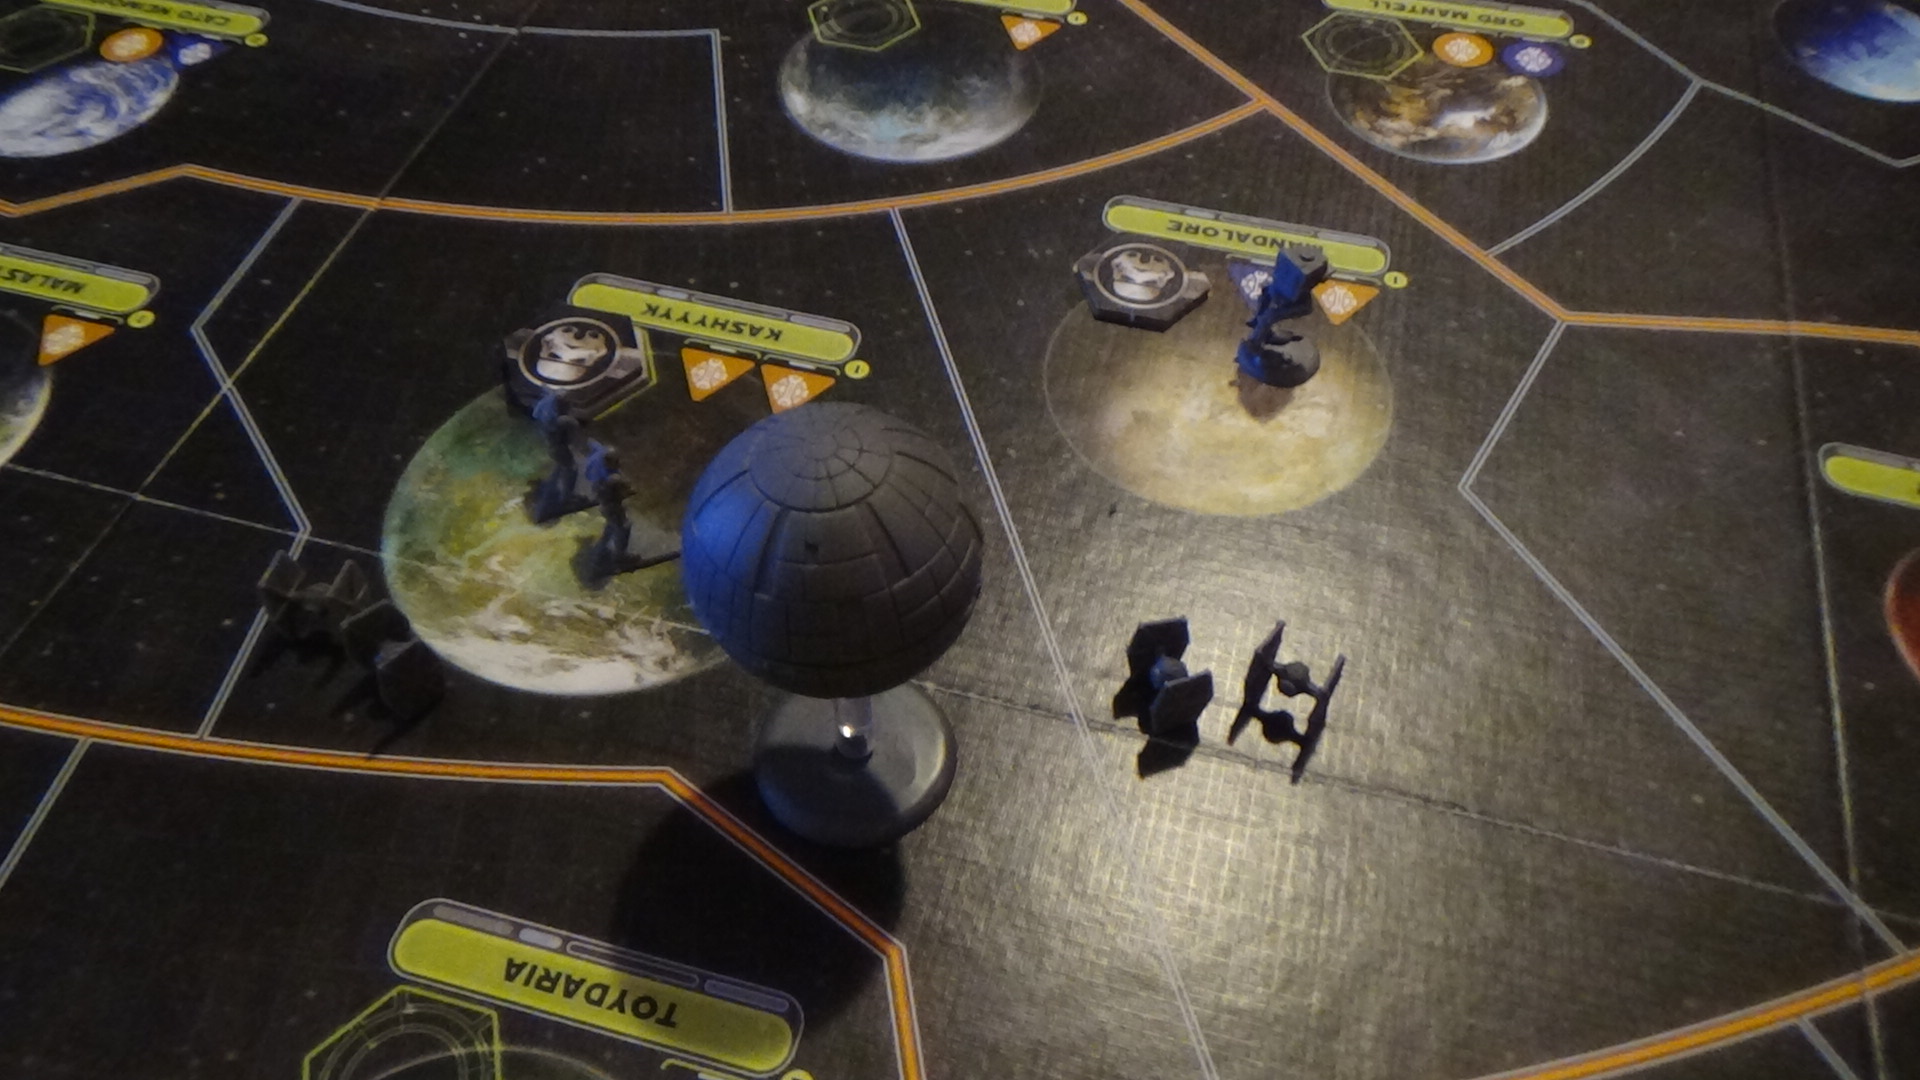
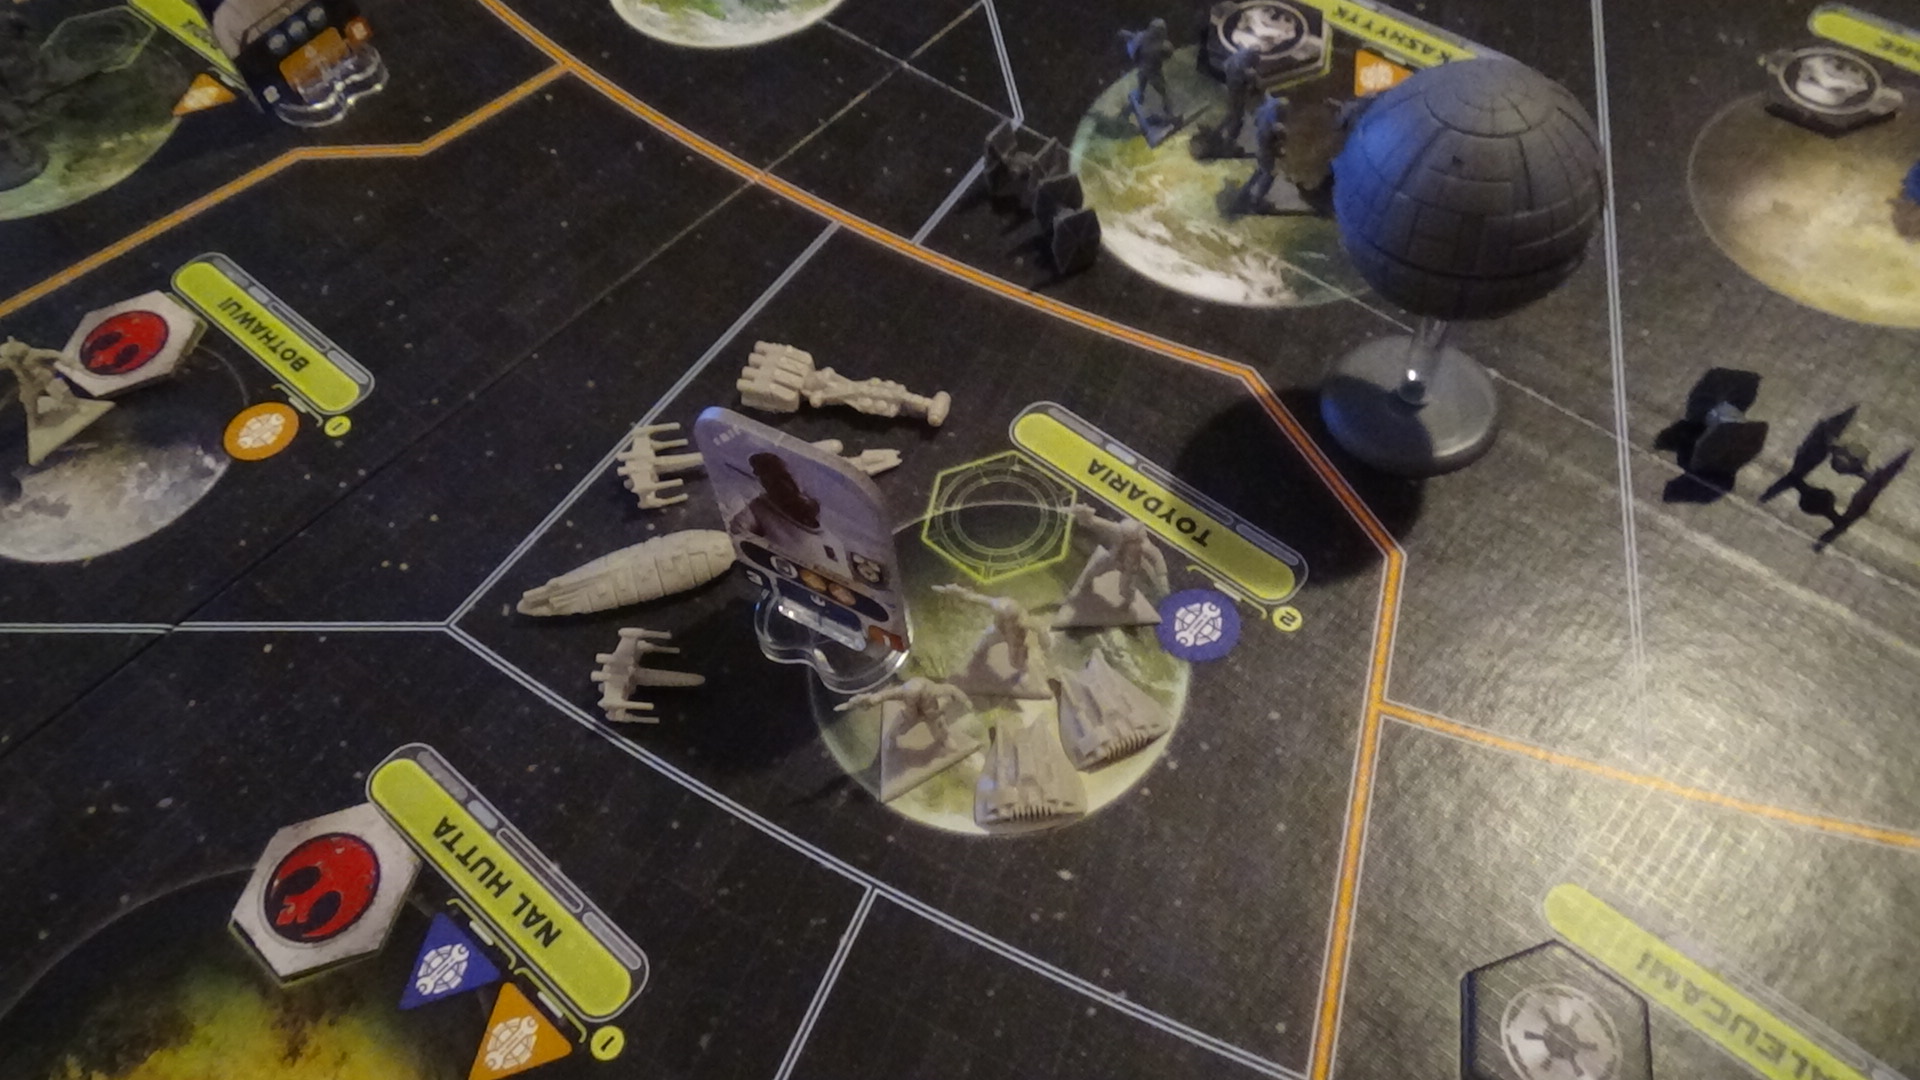
The second round was fairly uneventful in the moment - but in the grand scheme of things it proved to be a very interesting setup for future events to unfold. I decided to move my fleet to Toydaria which would enable me to set up a foothold in the frontline and help improve relations with Toydaria itself. The plan was to attack the Imperial fleet at Saleucami and hope that I would be able to receive the Death Star plans through enough intrigue and espionage, with which I could launch an assault on the fleet at Kashyyyk.
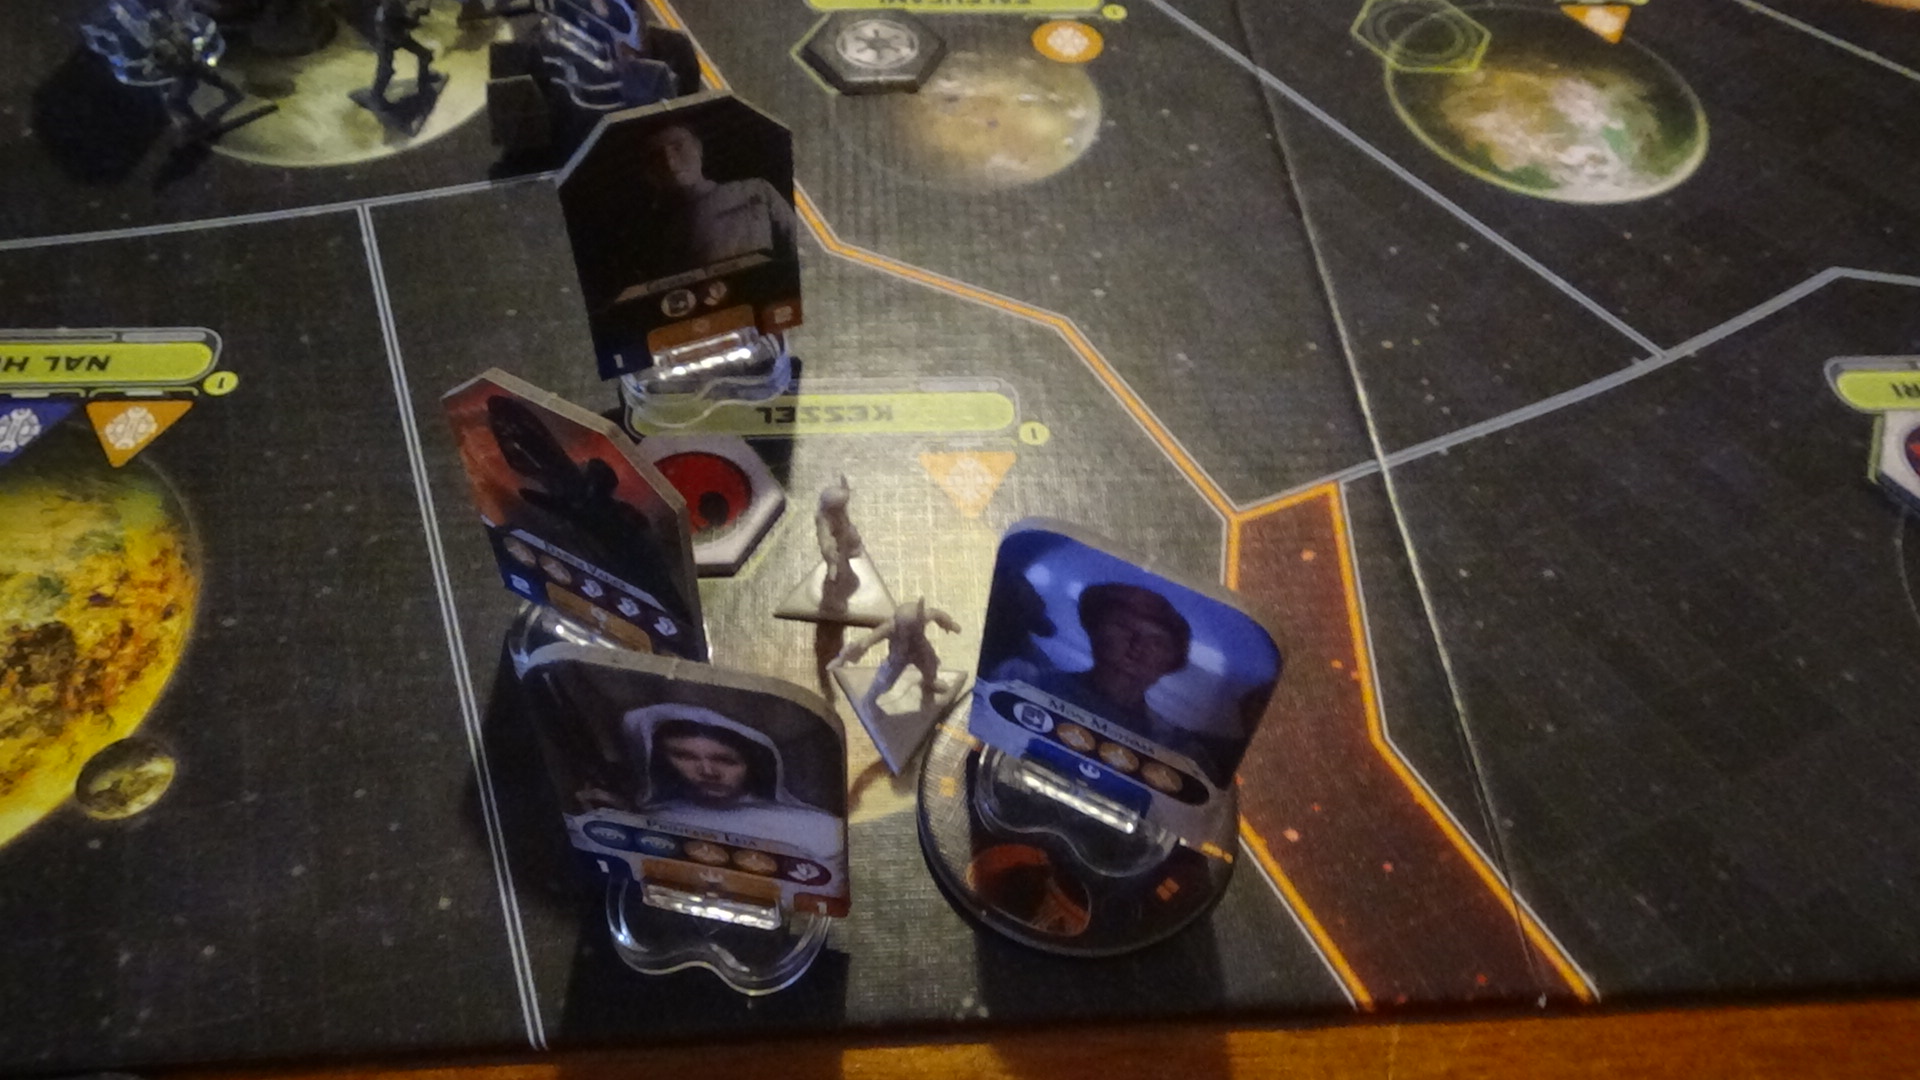
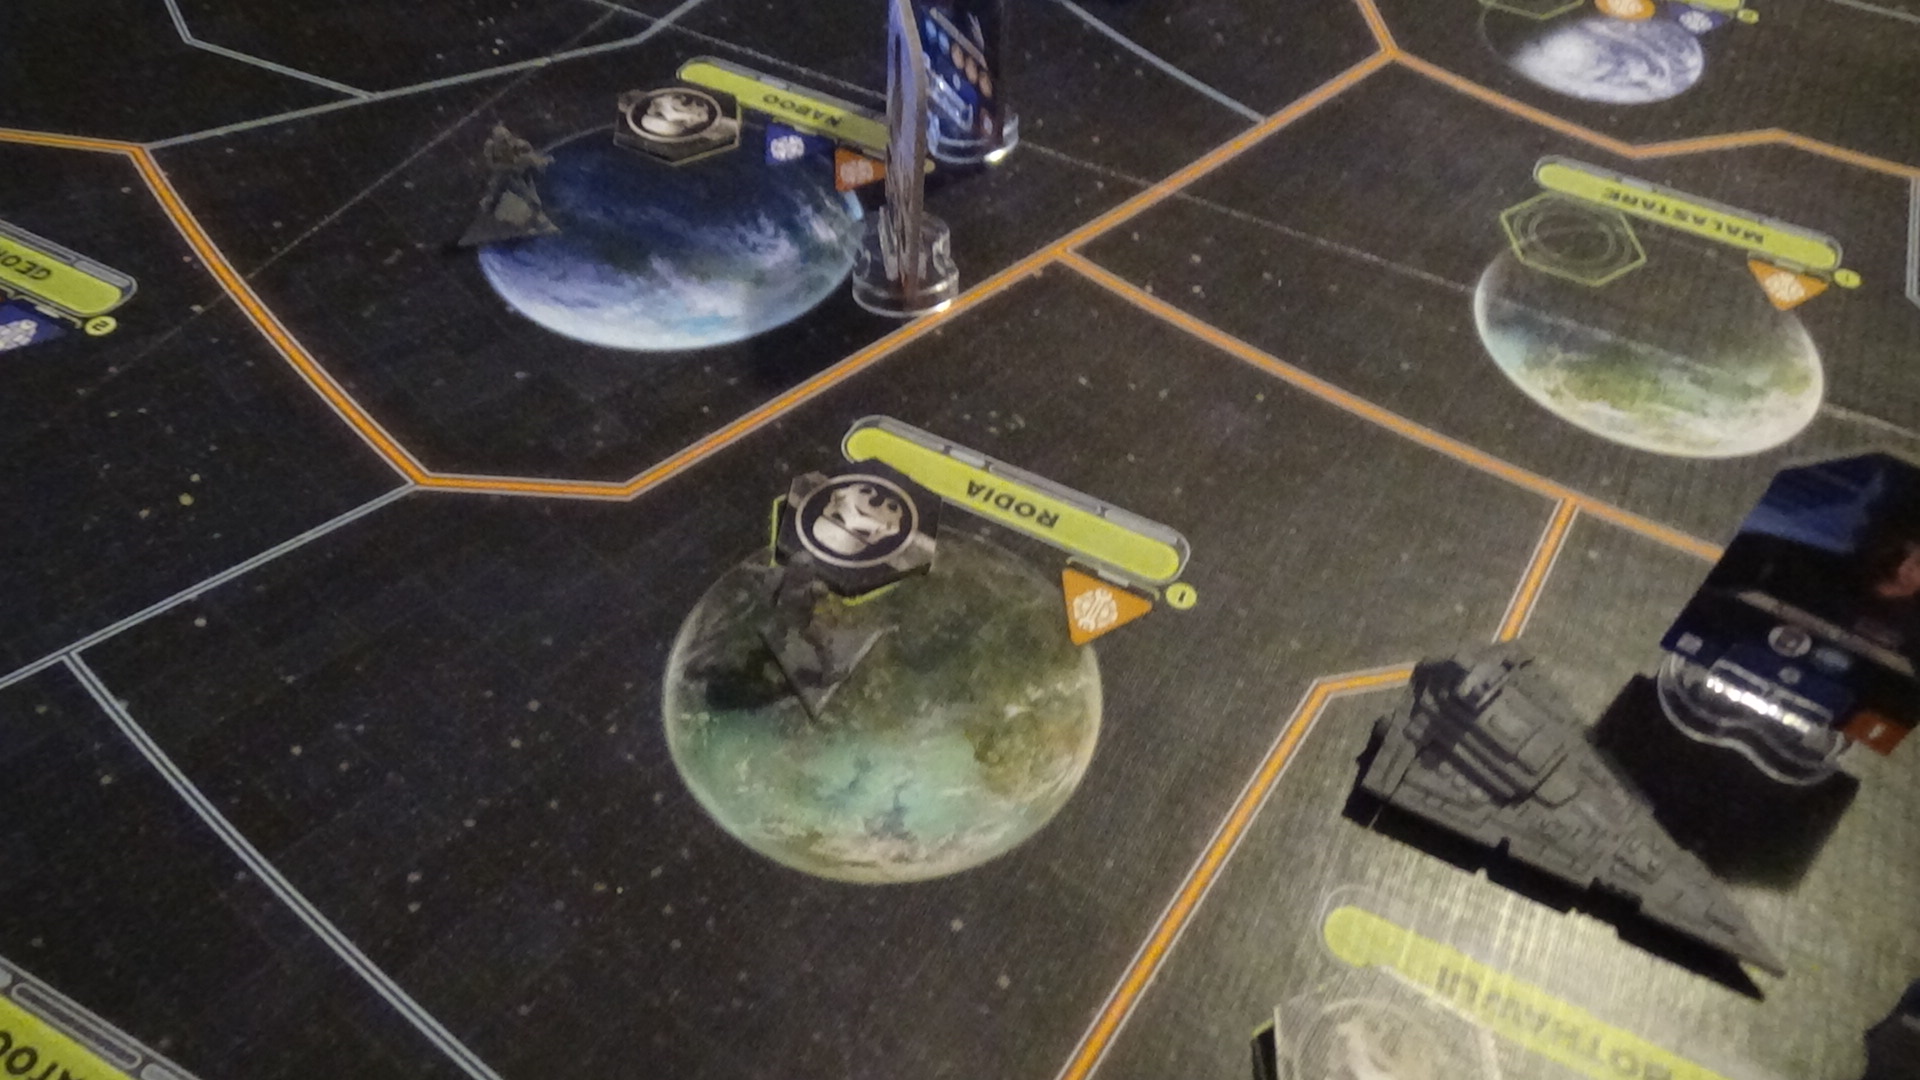
Kessel joined the Rebel Alliance - but at a cost, as Leia Organa Solo was detained while heading there and wasn't able to perform an action in the next round. Detaining and capturing leaders is one of the Empire's unique ways of dealing with the pesky Rebels, but it wasn't a big deal - the forces from Naboo heading to Rodia (one of Bothawui's neighbouring systems) were, however. I had to alter my plans a bit and would have to send my fleet back to Bothawui to deal with the invaders next round.
On to the next round then. No building this round, but we still got to recruit a leader - I managed to tangle Lando Calrissian into this whole plot, who would prove to be a very capable leader in future rounds.
Well, Round 3 certainly was one of the most interesting rounds. An Imperial task force was sent from Saleucami to Kessel, but luckily I was able to inspire the hearts of the native spice miners and convince them that the Imperial forces would just oppress them further, inspiring them to rebel against the stormtroopers who had set up a garrison there in what I like to call the Battle of Kessel. However, Mon Mothma was captured by Lord Vader himself, which would ultimately prove to have disastrous consequences.
Overshadowing the measly Battle of Kessel was the Battle of Toydaria. Forces from both Saleucami and Kashyyyk combined to quickly eliminate my forces there before I could relocate them to Bothawui, and this is where we REALLY got to sink our teeth into this game's bombat system.
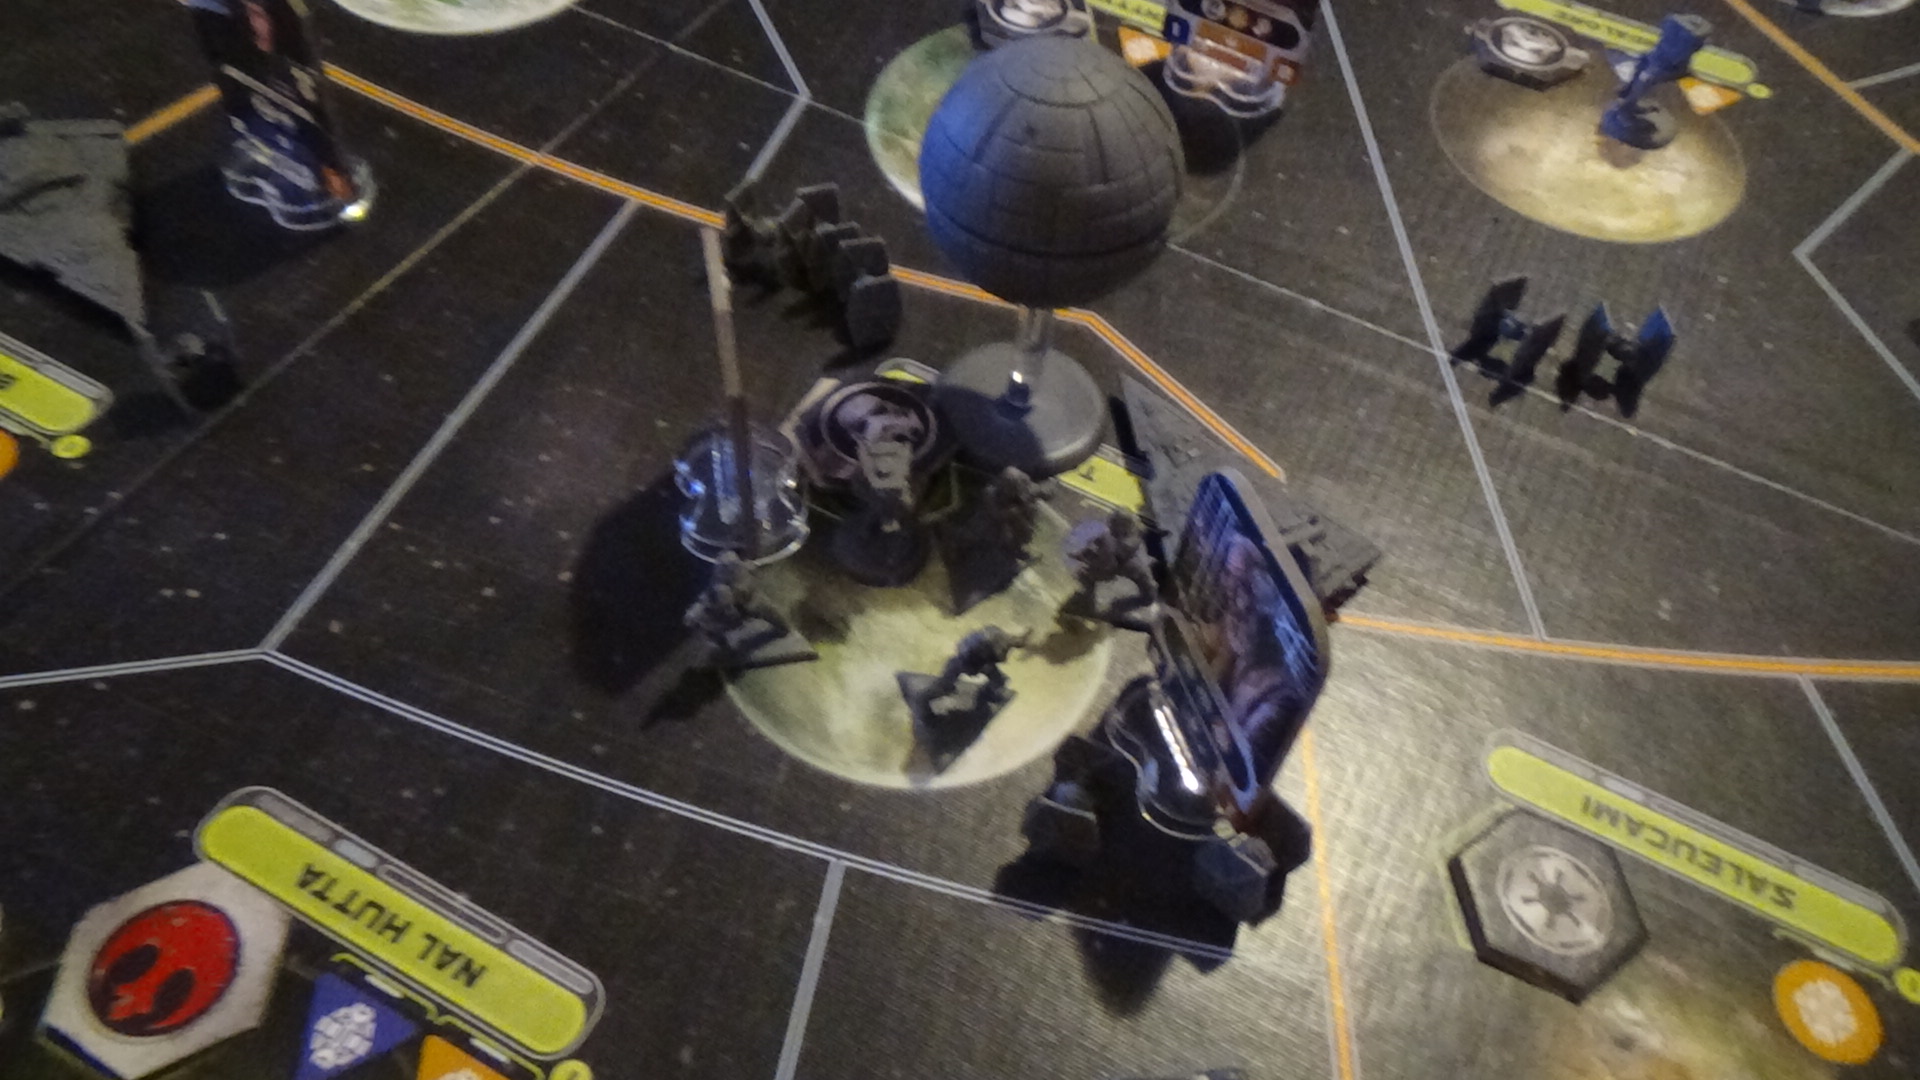
The combat in this game REALLY favours the attacker, as units destroyed by them in the first round of combat don't get to fight back at all. Now, looking back at the game and how it's supposed to function, I realise that it's supposed to help the Rebels as opposed to the Empire, as this means that the Rebel forces can whittle down a larger Imperial fleet to a more controllable size before they get a chance to retaliate. Unfortunately, I didn't know this was how combat worked, and if I did I may have planned the whole game differently. The Battle of Toydaria was a major loss, with 100% casualties and no damage having been inflicted on the Imperial forces. Toydaria fell to the Imperial ground forces, and the Rebel Alliance was without any navy/military. Please excuse the blurriness of this photo - the battle was so intense and short that no stable footage of it exists anywhere within the Imperial archives.
In other news, Lando managed to sabotage the supply lines in Corellia, which would stop the Empire from making an additional assault carrier and star destroyer this round. The fleet orbiting Rodia managed to make it to Bothawui with no opposition thanks to the Battle of Toydaria.
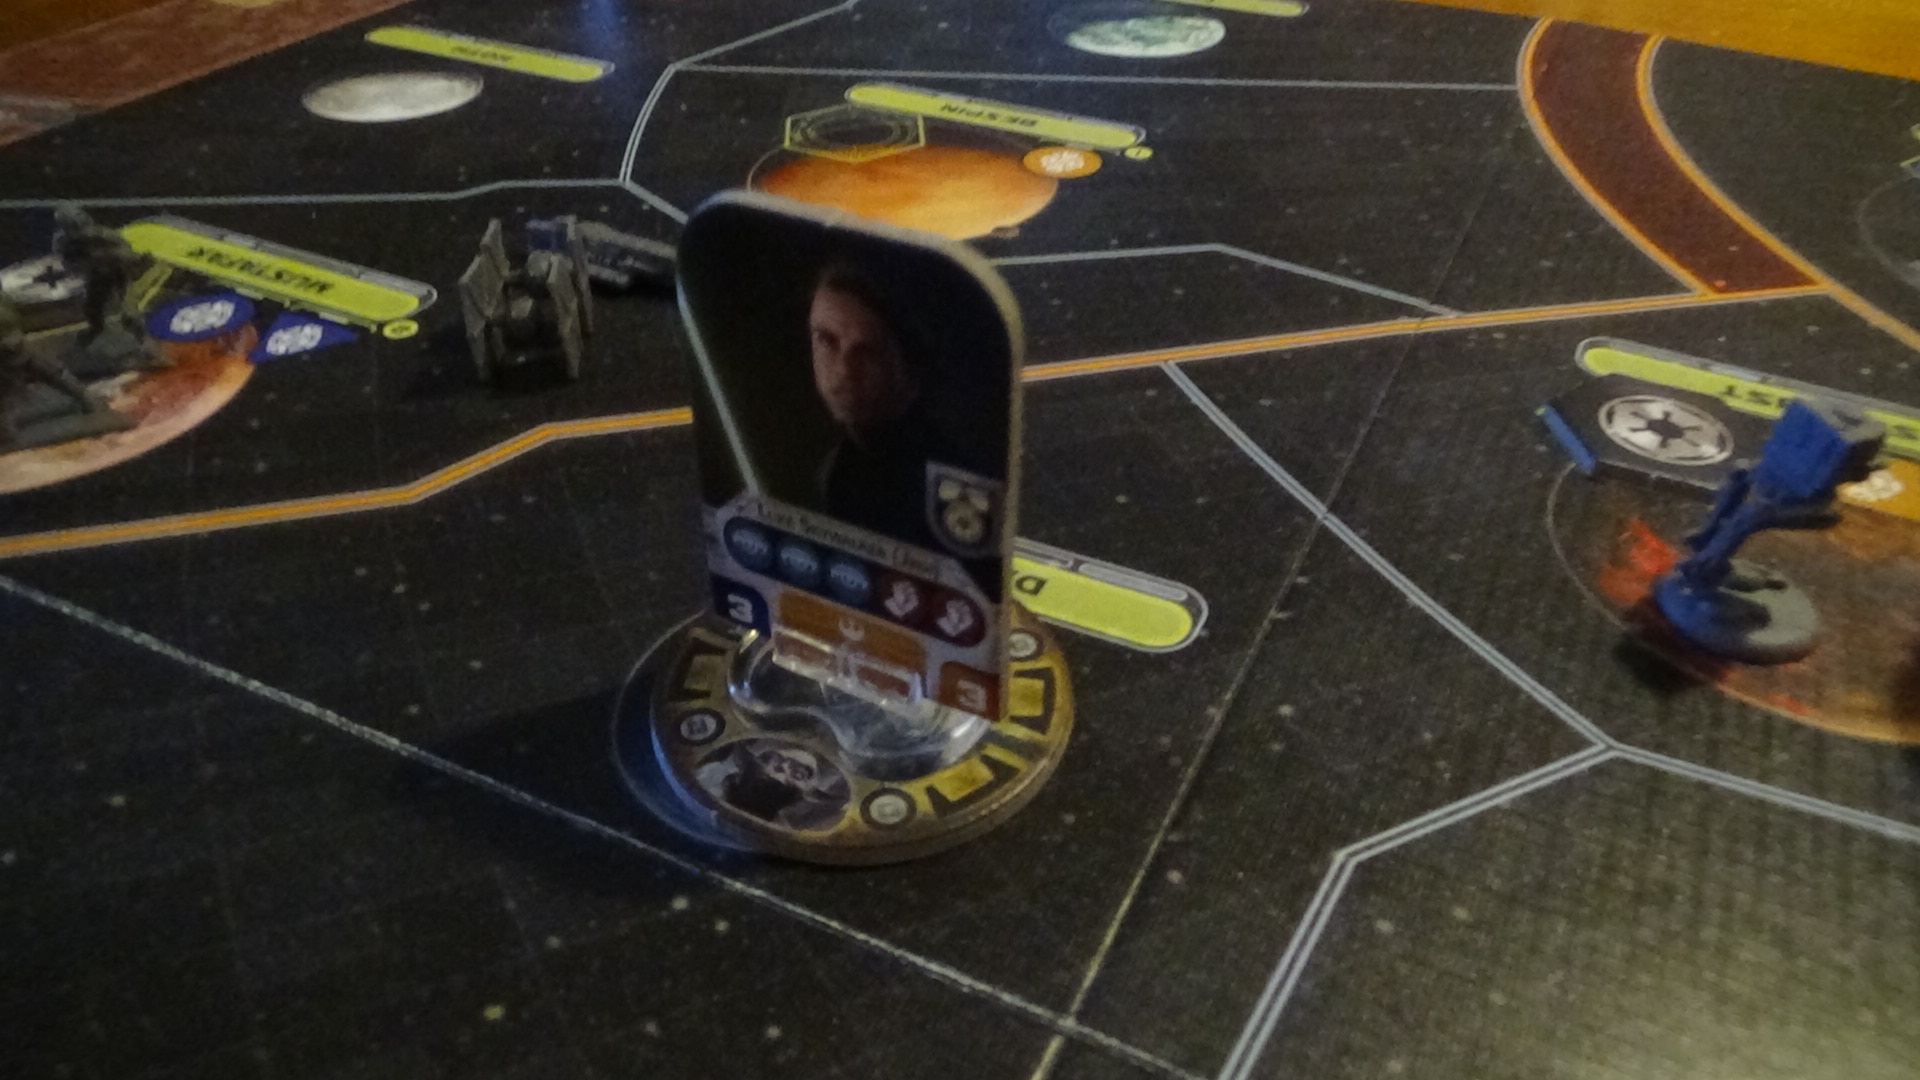
However, there was one saving grace for the Rebellion - the Mon Calamari cruisers and their accompanying fighter squadrons that had begun construction in Round 1 were now ready to be deployed. Also, Luke Skywalker was recruited, giving hope not just for the future of the Galaxy but for the practically non-existant Jedi Order as well. It's also important to note that I neglected to perform any acts of espionage this round, as that'll bite me in the behind later.

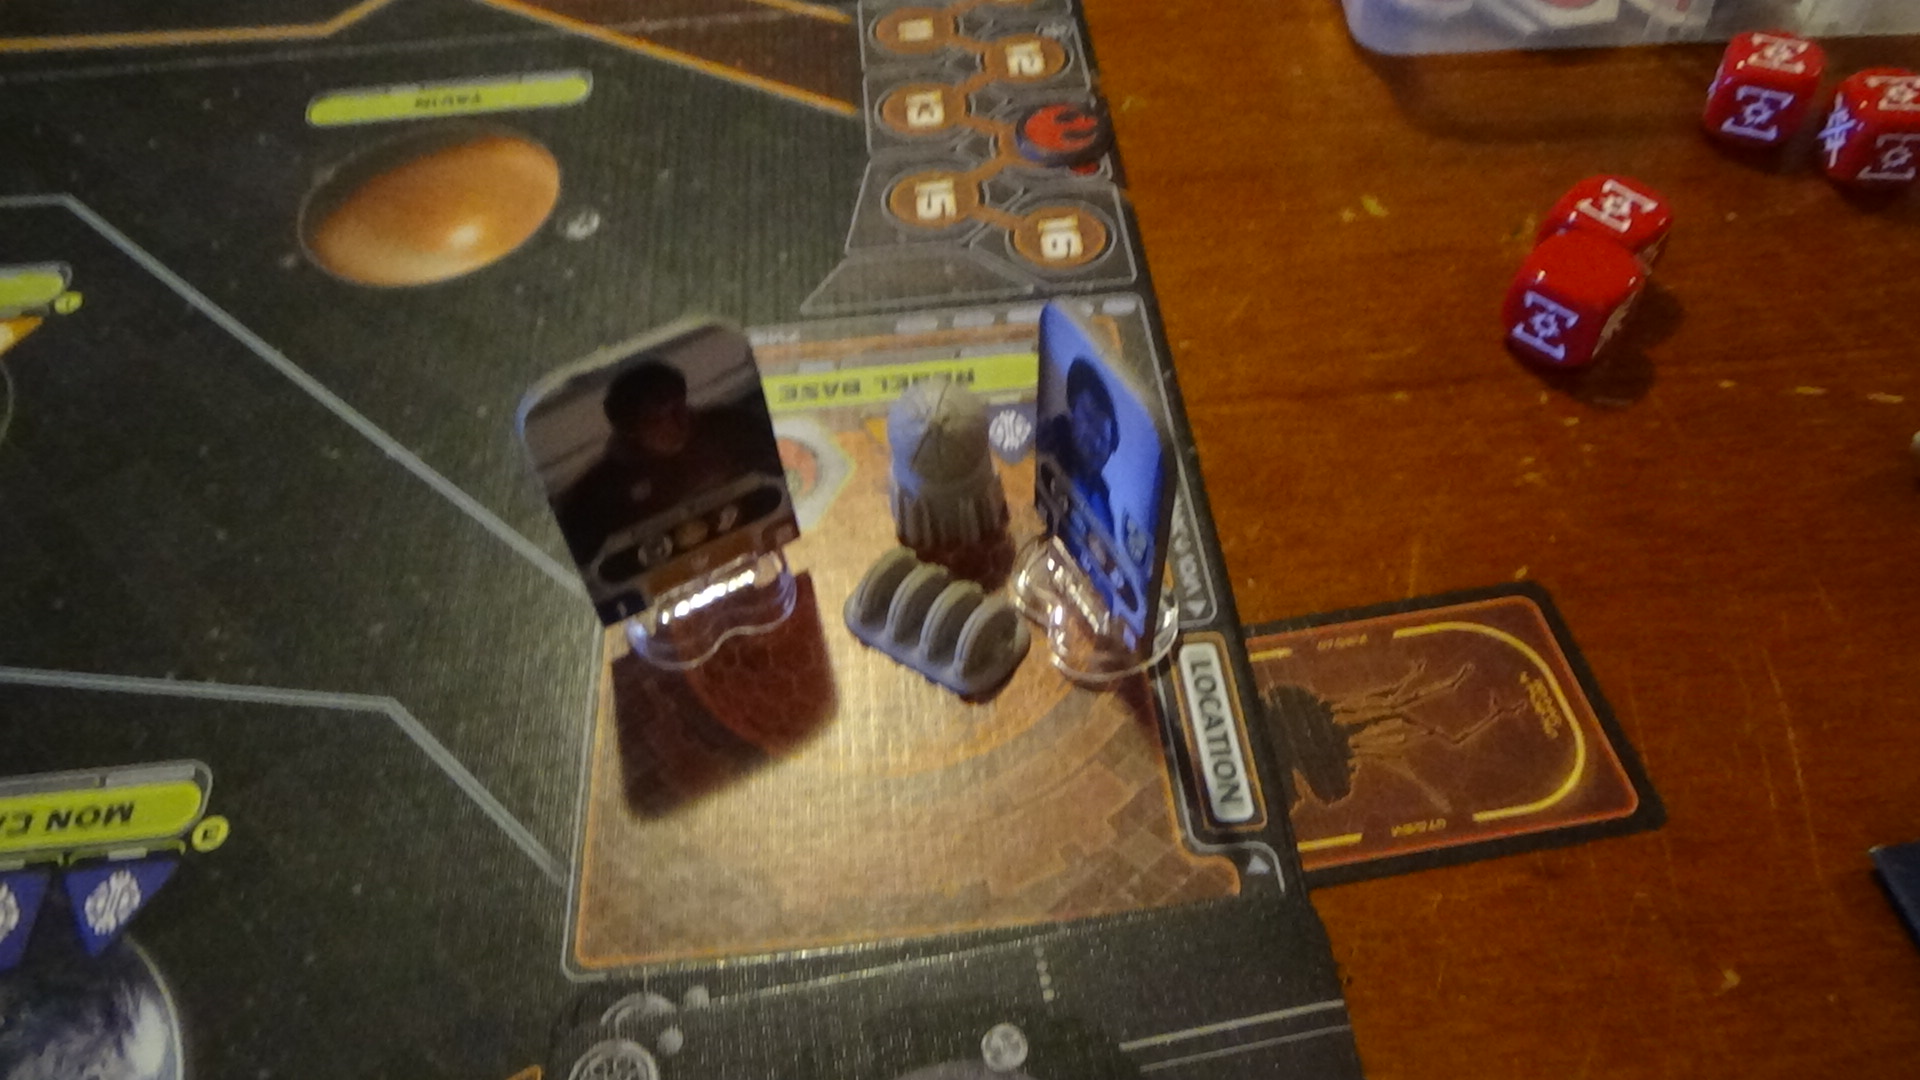
The Imperial Navy was at the doorstep of the Rebel Base - it was time to relocate it, and it happened in the nick of time too. I drew 4 cards from the probe deck (which has been severely depleted thanks to increased efforts to scan the entirety of the Galaxy) and managed to get Mon Calamari, which was close by to the action but not close enough as for it to be a prime suspect. After relocating my base, all of the forces on the 'Rebel Base' system were moved to Nal Hutta, which meant that there was a decent defense for the Empire to overcome. This became the Battle of Nal Hutta.
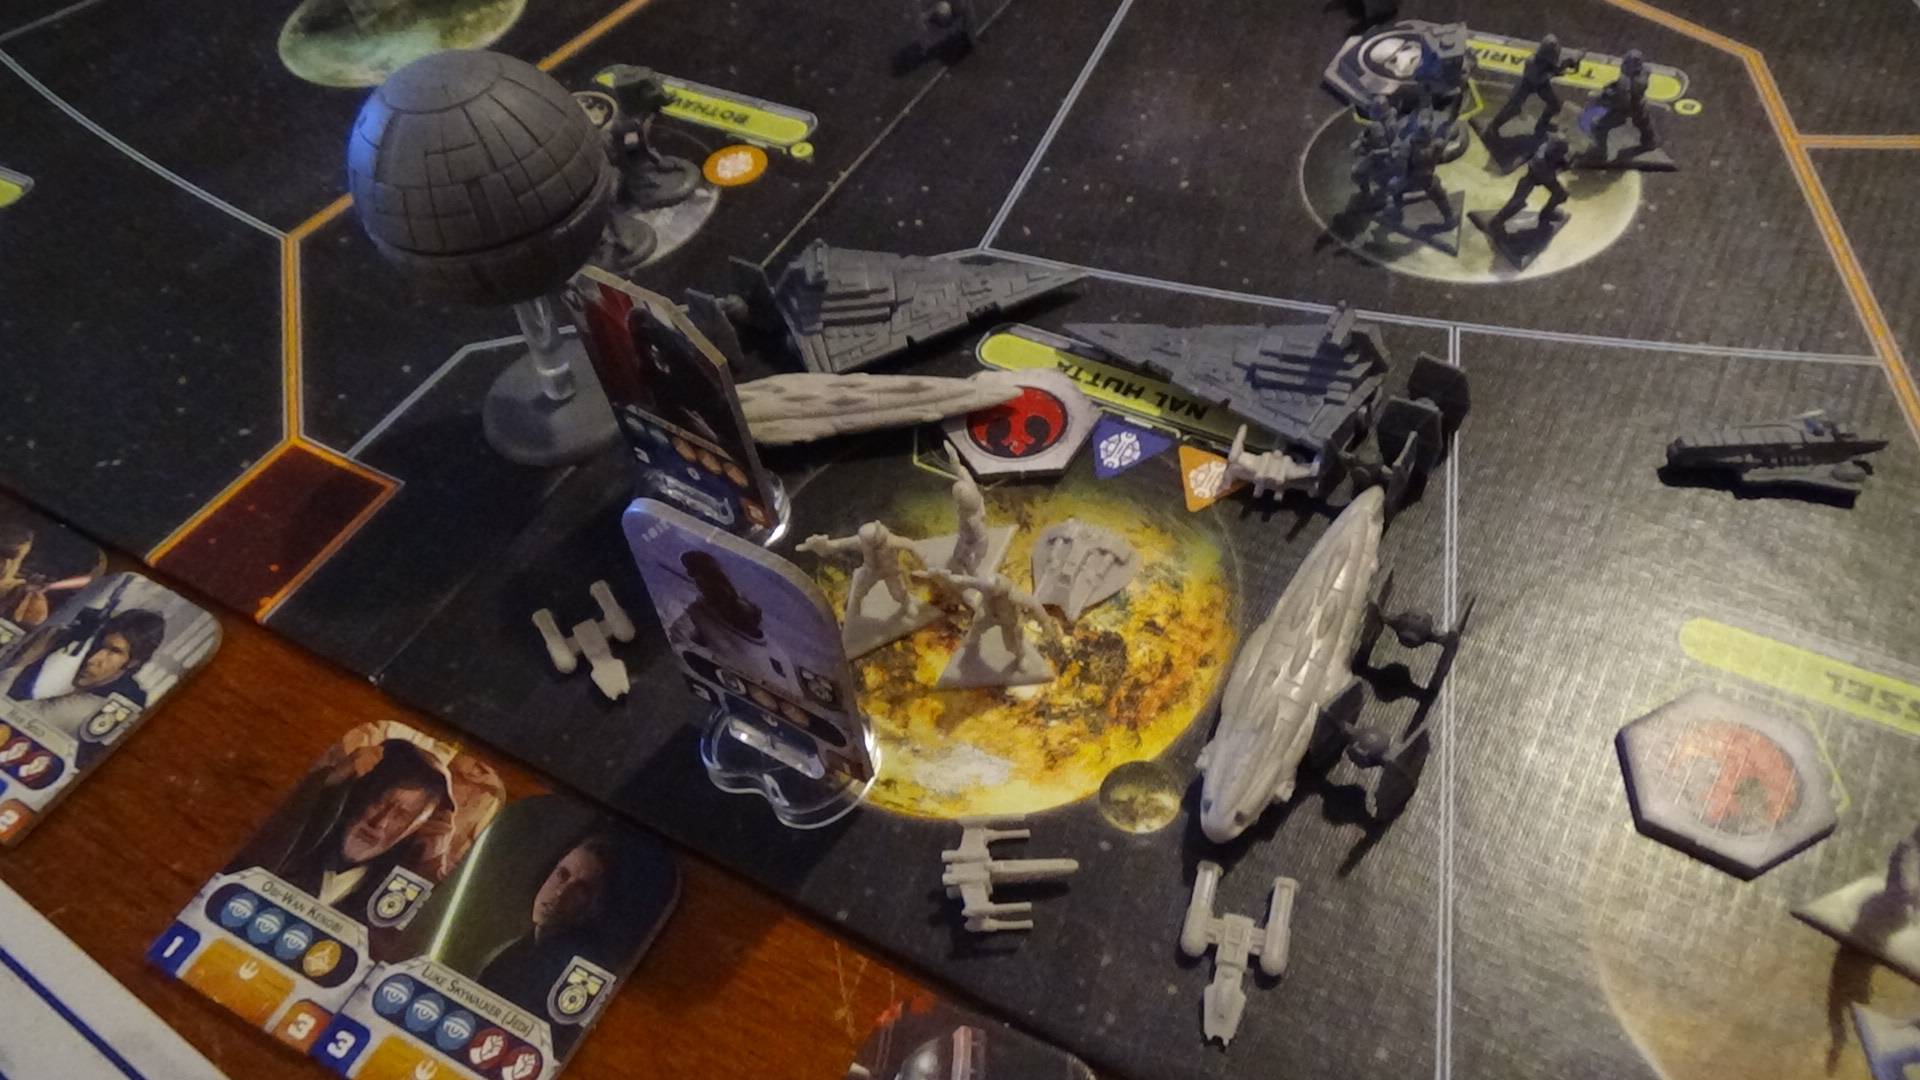
Although the navy at Nal Hutta was annihilated, the Empire neglected to bring any ground units. This became the opening of a very interesting campaign, one I like to call 'Dunkirk in Star Wars,' which was filled with daring acts of espionage and combat and-
Oh.
Oh.
I see.
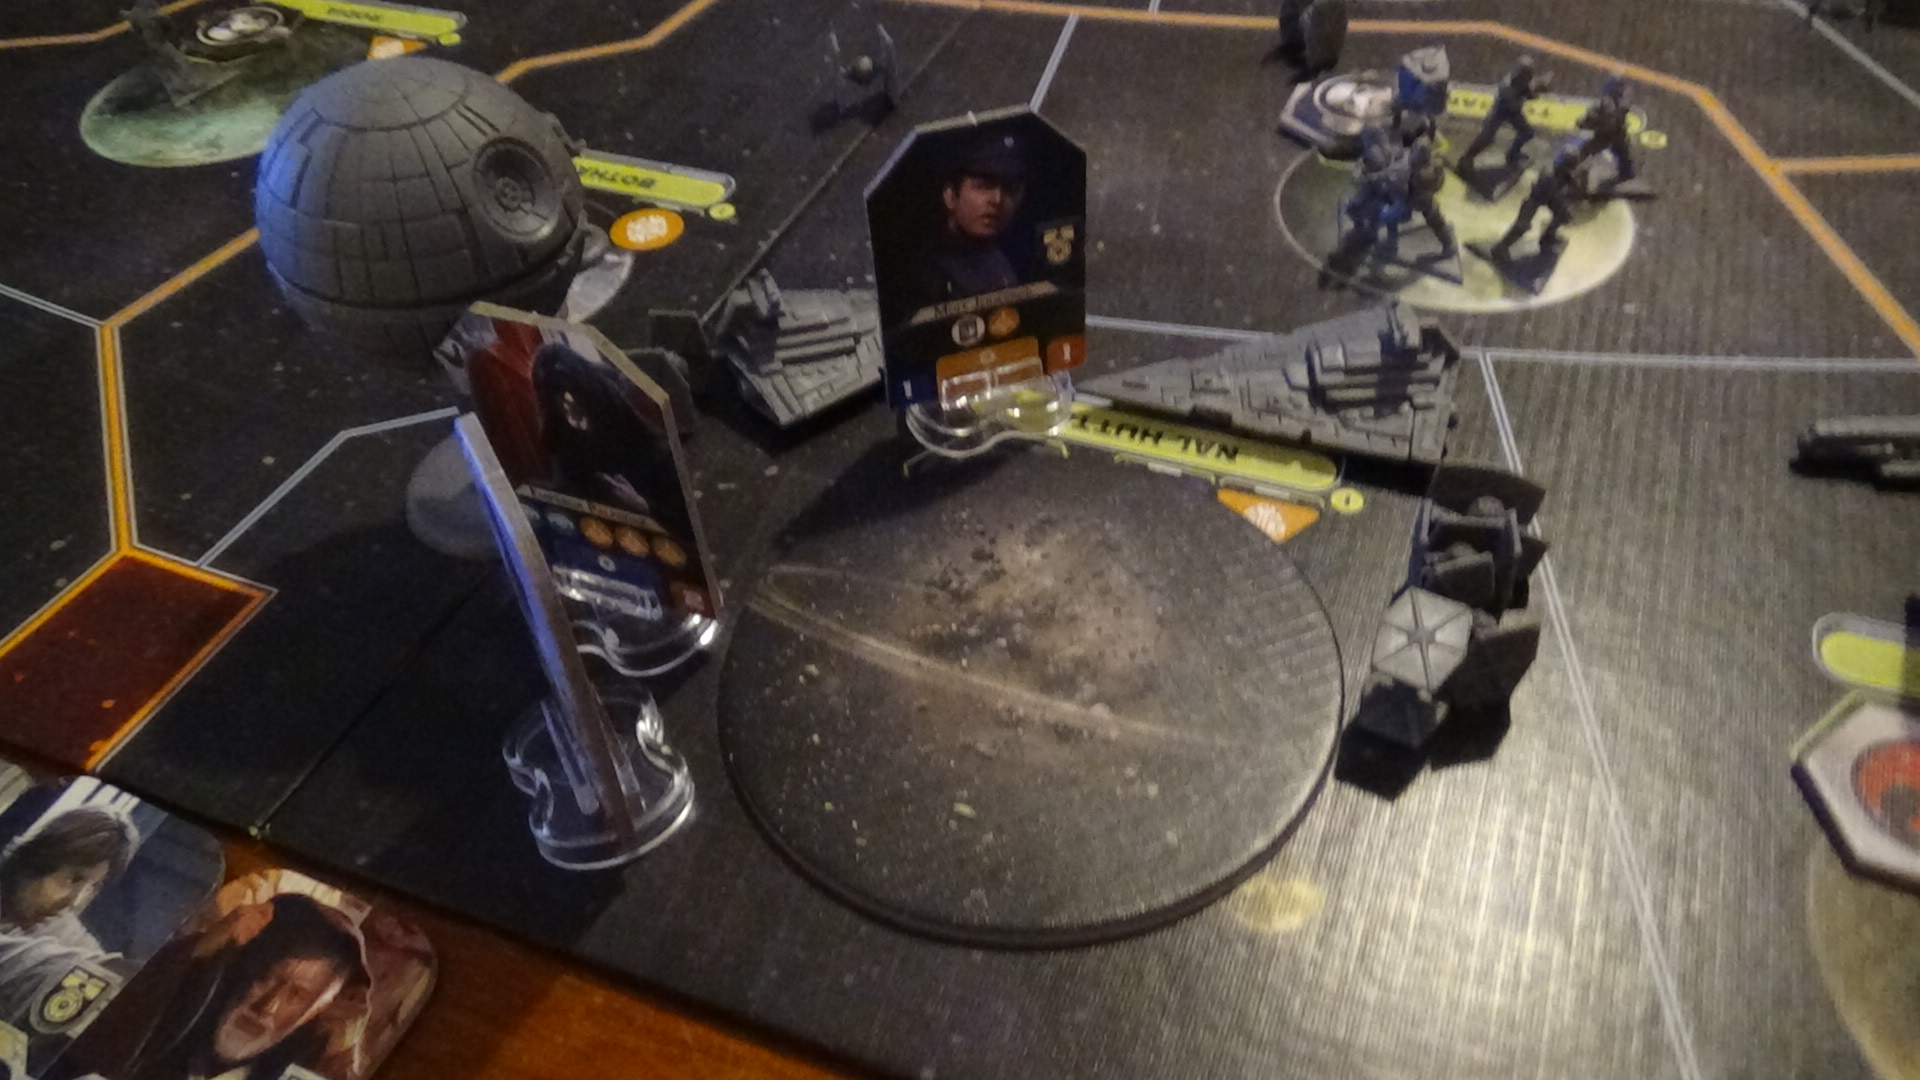
In all honesty, I don't know how I didn't see that one coming. The Germans could learn a thing or two from the Empire when it comes around to the Battle of Dunkirk. (You know, seeing how Star Wars is set 'A long time ago') But nonetheless, Nal Hutta was gone, and amongst the millions of criminal Hutts who were vanquished, so was the majority of the Rebel army. You know, I COULD'VE recovered from that blow with enough luck and lateral thinking, but the fact that Mon Mothma was interrogated about the location of the new Rebel Base before she could be rescued surely did.
You know, I really want to show you the card to help illustrate the point I'm about to make.
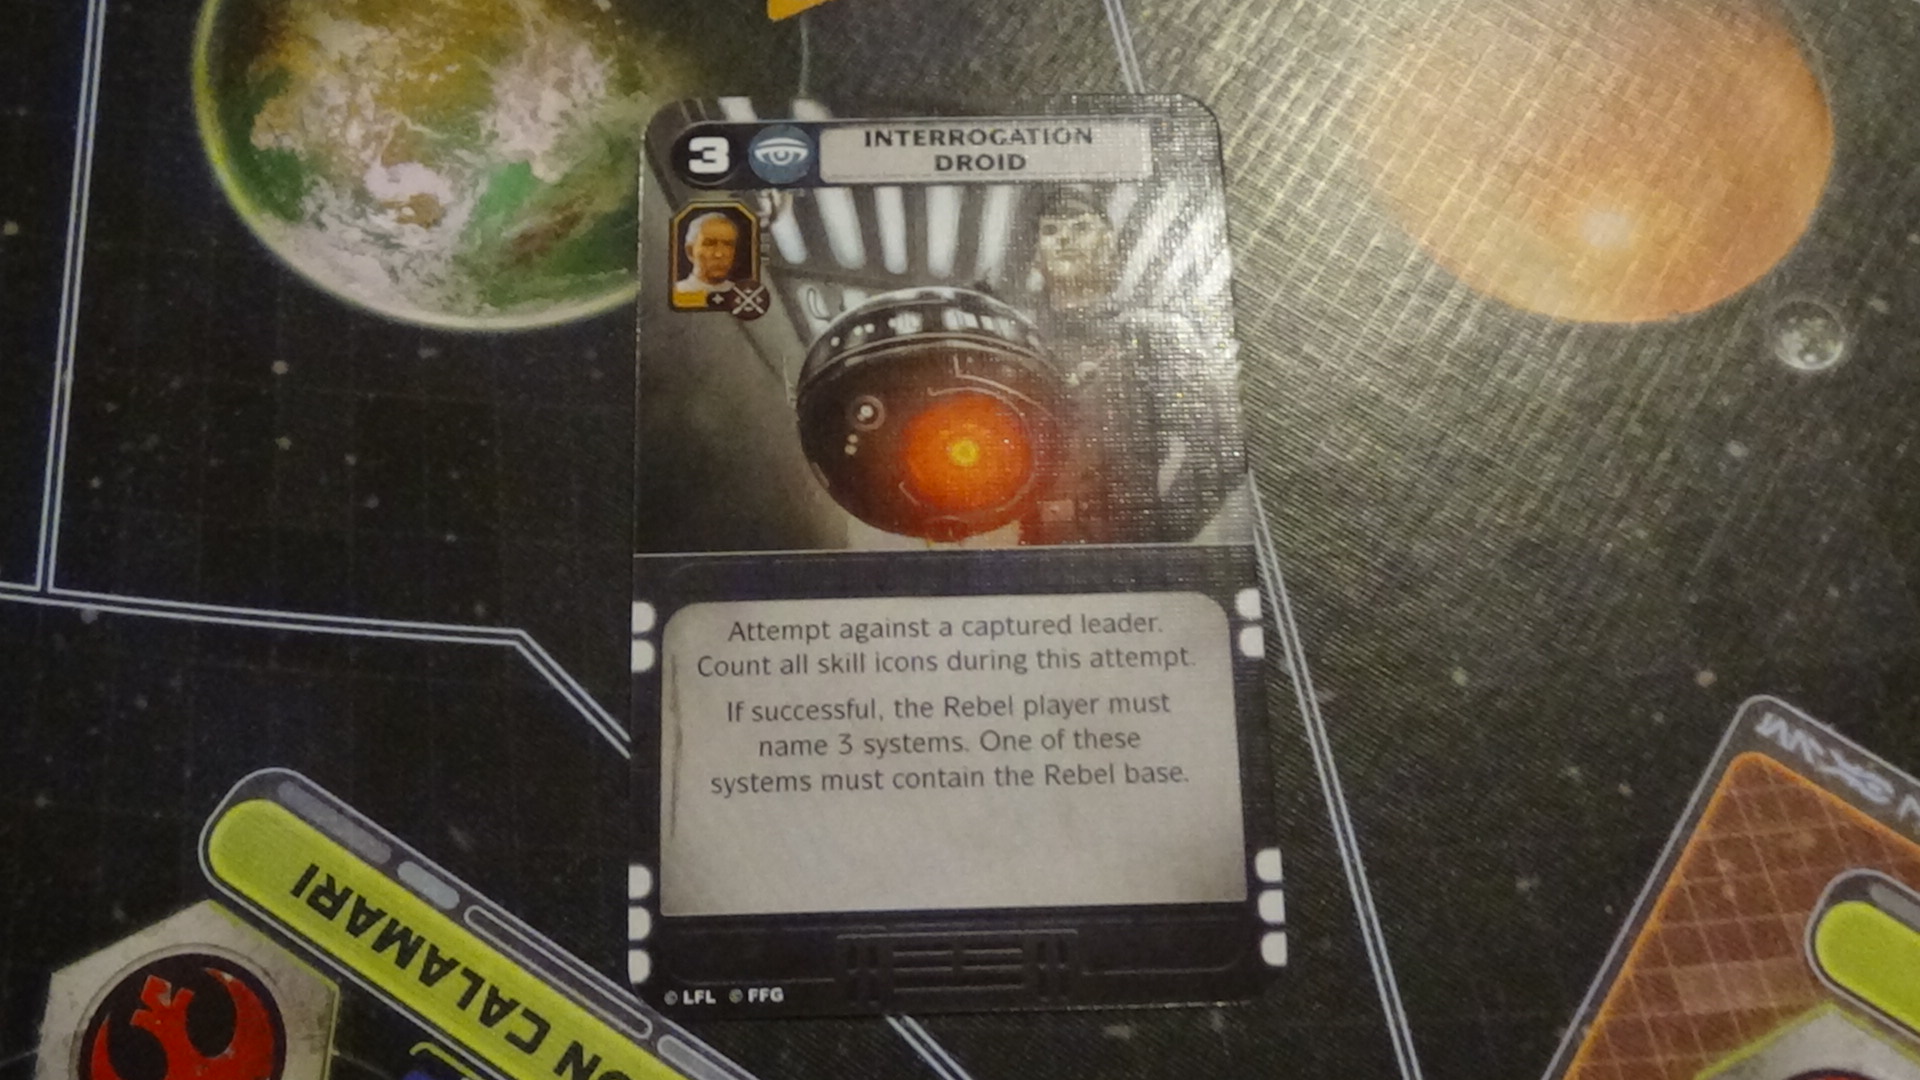
This card pretty much sums up the whole game for me. Sure, you do get beaten around a lot, (especially as the Rebel player) but for every moment that drives you up the wall with how much it screws you over, there's at least two satisfyingly theatric moments to tip the scales and make the game REALLY enjoyable. All it does is make me determined to eventually win the game as the Rebel Alliance, and relive the Original Trilogy with my strategic planning at the helm of it all. The card may not LOOK like much to an observer, but when you're playing the game it's a lot more impactful.
For the three planets I had to disclose, I said Tatooine, Dantooine and Mon Calamari. The Imperial player thought that I should know that he had two of those cards in his 'not where the Rebel Base is/can be relocated to' pile of probe cards. That, combined with the Battle of Nal Hutta, really put the nail in the carbonite block for the Rebel Alliance.
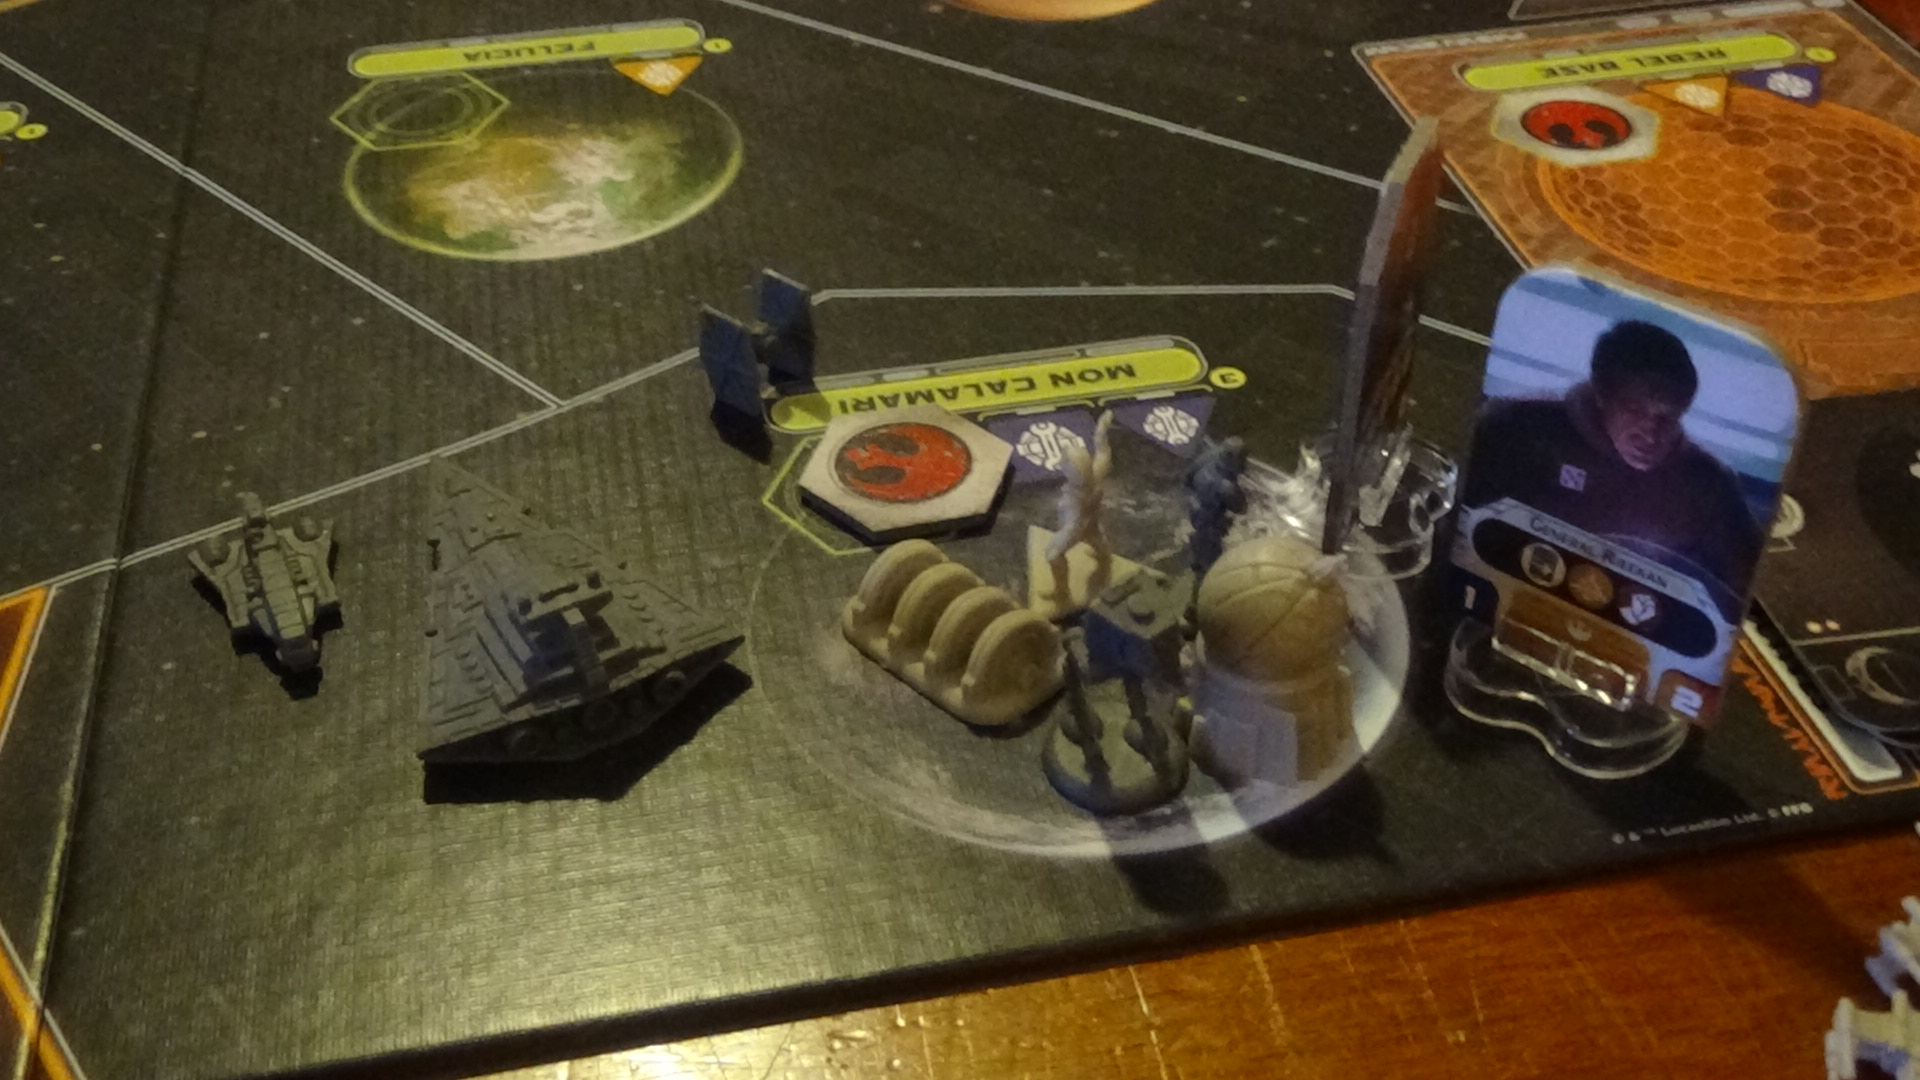
Despite the fact that Luke Skywalker had completed his training as a Jedi knight, and the combined efforts of Lando Calrissian and General Rieekan to set up defences on Mon Calamari, the Rebellion was over, and everyone in the Galaxy knew it.
I managed to recruit Han Solo as my last recruitable leader, (in a normal game where I wasn't screwed by Round 4, that is) because I could use him to recruit Chewbacca too, just in case that the sliver of hope left for the Rebellion could shine through. Also, did I mention the objectives yet? I drawed one at the end of every round, including one at the start of the game, and they all seem simple enough - "Have 4 systems with Rebel units in them," that sort of stuff. I hadn't completed a single one by this point, and I didn't for the rest of the game. The real kicker? I drew an objective that allowed me to destroy the Death Star. Because of the way the Battle of Nal Hutta ended up being resolved, if I had assigned a leader to the Intrigue mission card, I would've been able to destroy the Death Star in the Battle of Nal Hutta. Just thought you'd like to know that. Honestly, I'm not fussed. I'll explain why in the summary of the final round.
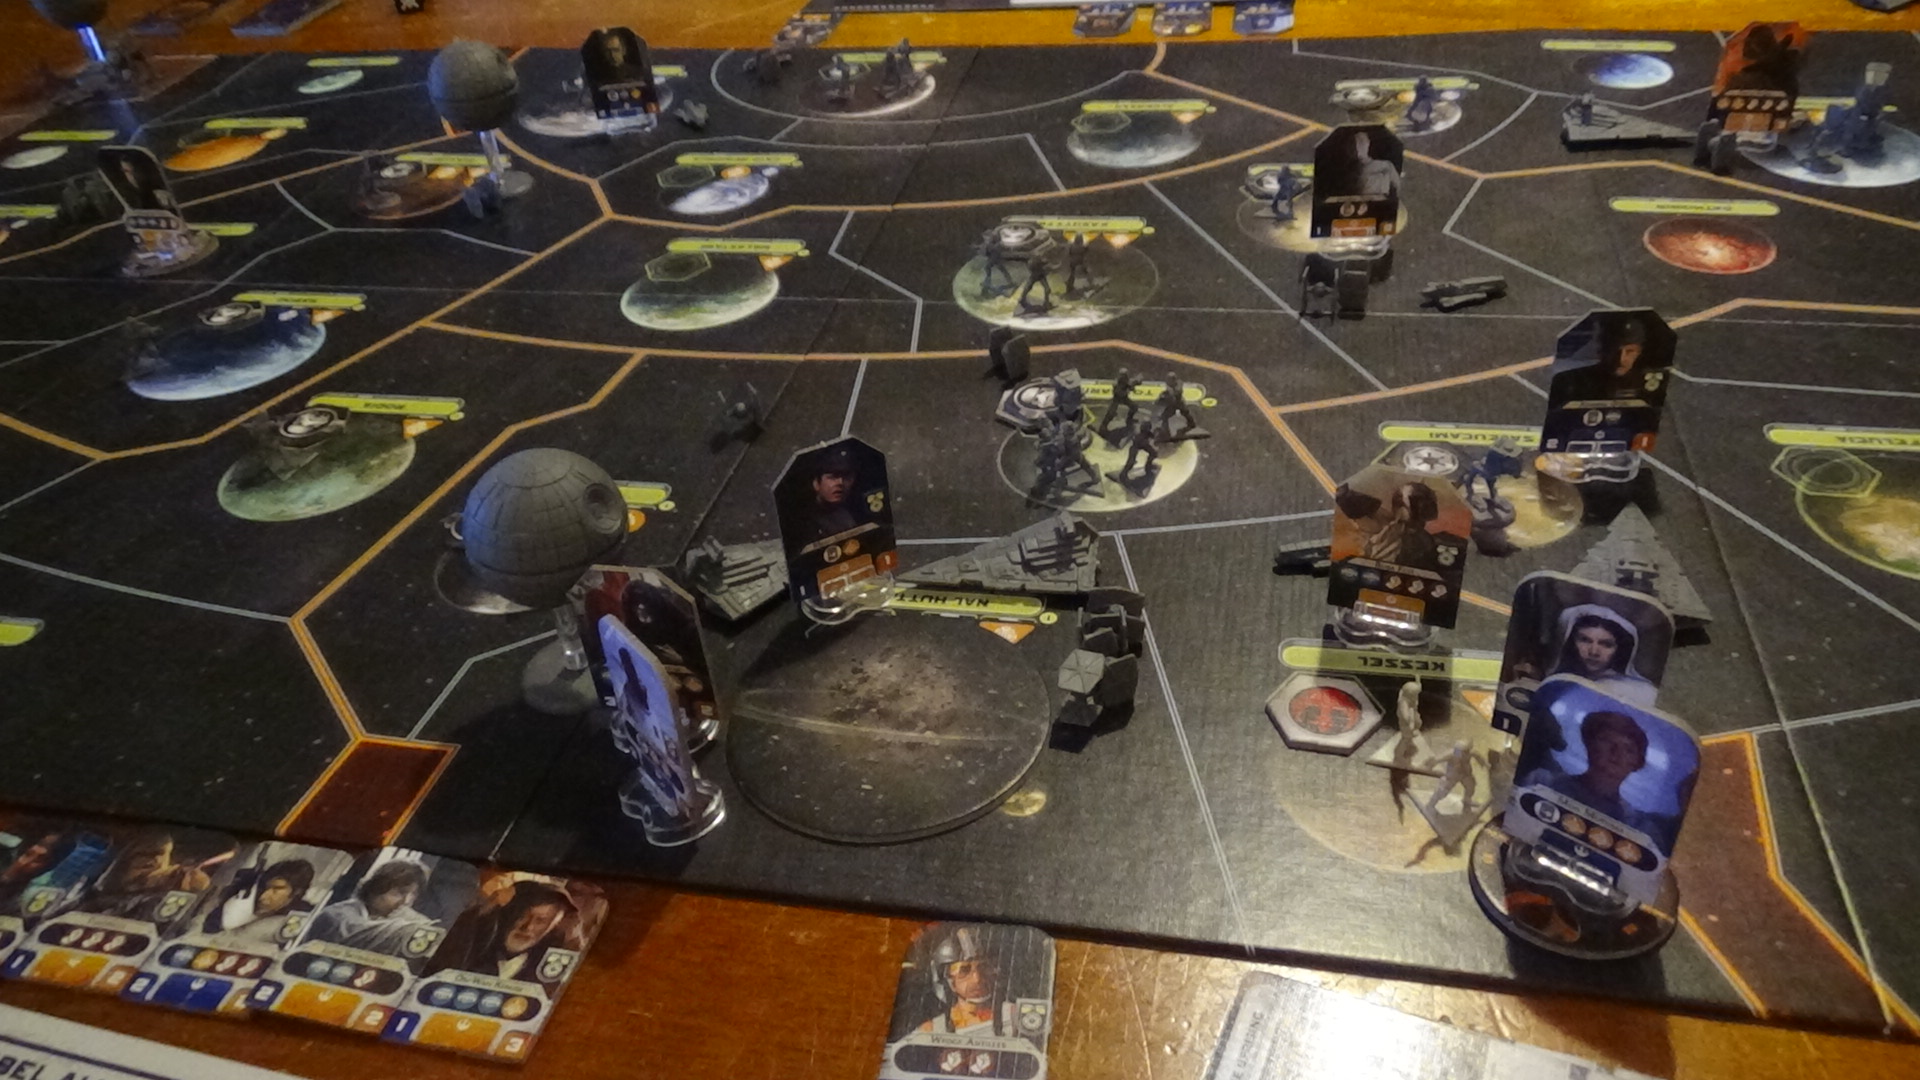
Well, Round 5 was the round the game ended officially. The Rebel Base was discovered and the final battle of the game, the Battle of Mon Calamari, took place. It was the last triumphant hurrah of the Rebellion, and all the hopes and aspirations of the Galaxy died that very day.
Now, you may be thinking, "You just doomed the entirety of the galaxy to an eternity of slavery and damnation, shouldn't you feel bad about losing, even a little?" And my response would be, "I know, but it's just a movie."
That's what this board game feels like. A movie. With highs and lows, shocking twists and daring adventures, but fortunately without the guarantee of the good guys winning. And honestly, with your base material being a movie series, I'd say that you've done a really good job at capturing the essence of what made the source material so good. This board game will always be one of my favourites, just because of the cinematic aspect alone. The one thing I regret about playing this game is not playing it with the Star Wars Episode IV soundtrack playing in the background. And it's not 'scripted' cinematic, it's 'this works the best for me in my current situation and it just so happens to coincide with events in the movies,' cinematic. I cannot fault this game, as everything that screwed me over was caused by my foolishness and it just makes me determined to beat this game. Personally, I'm giving it a 10/10 Iron Crosses just because I love Star Wars so much and can appreciate the cinematic aspect of it, but for anyone else just looking for a fun boardgame, I'd say an 8/10. Being a huge fan of Star Wars is integral to the enjoyment of this game, but that doesn't mean it's a badly designed game. It says 'Star Wars,' and you get 'Star Wars.'
Actually, 10/10 might be a bit high, but I've already said it. Besides, once I get my hands on the expansion, I might view this game in a different light. Oh yeah, there's an expansion.